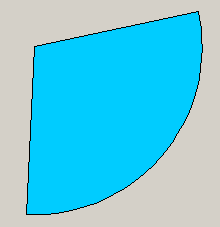
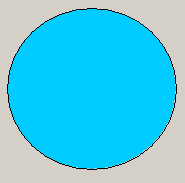
Arcs, ellipse and circle
![]() To draw an arc
To draw an arc
-
Click on the tool for arcs
 .
. -
Click in the panel work area.
-
Drag and click.
-
Now you can stretch the arc further by dragging and clicking on its editing points.

A double-click on the arc in the panel during engineering opens the Clicked script.
Arc in edit mode
Select the object. The green editing points can be used to change the size of the arc. Further properties such as type of border, filling the arc, fore and background color, line type and width can be changed in the property sheet.
Ellipse and circle
![]() To draw a circle or an
ellipse
To draw a circle or an
ellipse
-
Click on the tool for ellipses
 or on the tool for circles.
 -
Click in the panel work area to set the center point for the circle.
-
Move the mouse to create an ellipse or a circle.

 CREATE A CIRCLE USING THE three-point
method
Hold the SHIFT key down when you first click with the left mouse key. A cross marks the first point through which the circle will pass. Another left-click sets the second point that will be marked as the one before. Move the mouse until the circle has the required radius and click a third time to complete the circle.
A double-click on the ellipse/circle in the panel during engineering opens the Clicked script.
Circles and ellipses in edit mode
Select the object. The edit mode is indicated by eight green editing points. Further properties such as type of border, filling the arc, fore and background color can be set or changed in the property sheet. The property Dash color is used to display a two-colored line. With the default color "transparent", you will get a single-colored line.


