Configuration of the Function dpQuery
This chapter describes the function dpQuery.
Function type
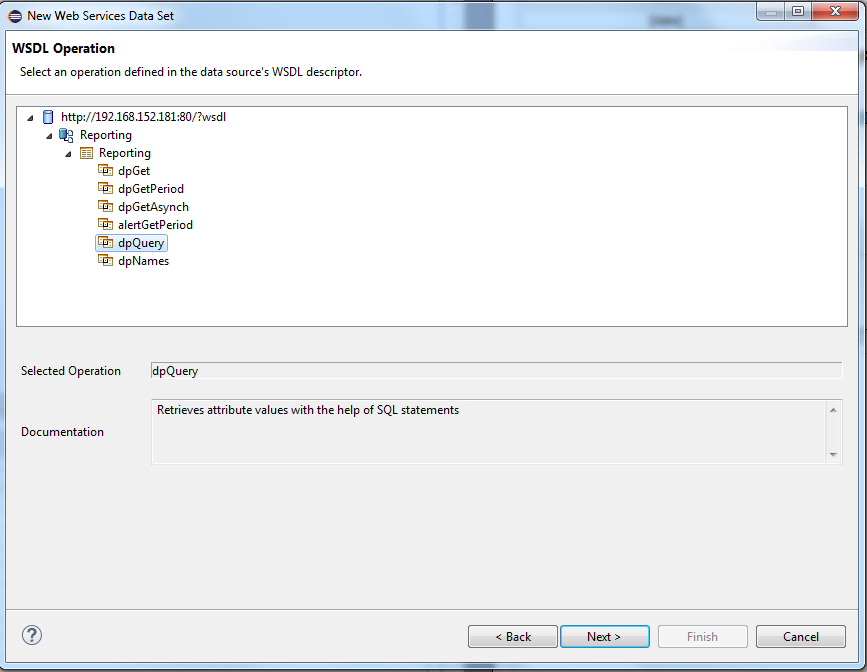
Select the function type dpQuery after creating and naming a new data set (see chapter data set) and click on Next>..
Parameters
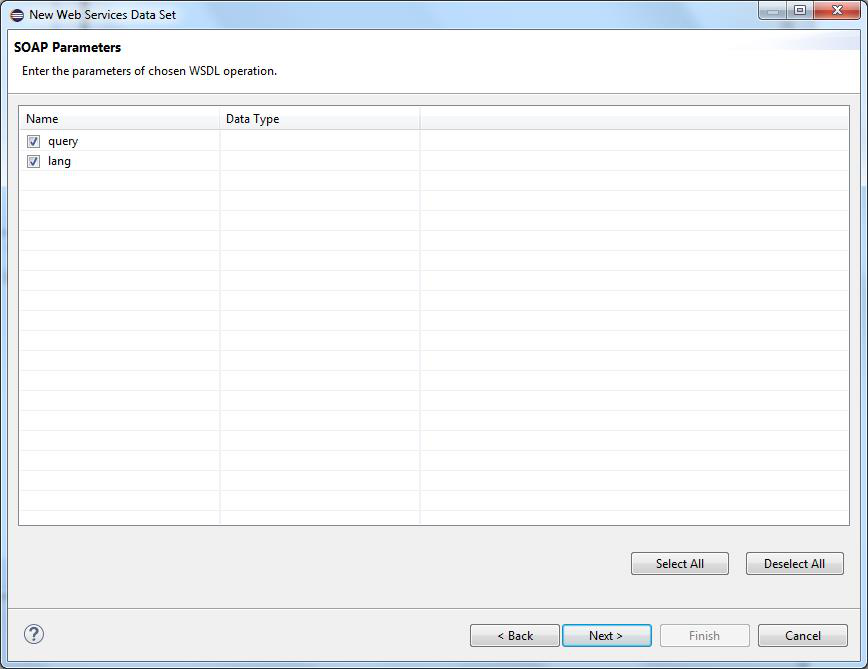
Shows the parameters that are available for the configuration. Select the parameters and click on Next>
Function Parameters
| Parameter | Description |
|---|---|
| query | SQL Statement |
| lang | The project language. If you don't specify the language, the function returns the default language of the project. This means the default language set in the config file of the project (active language). If you, however, specify the parameter "lang" in the config file, the language of the "lang" parameter is returned. The parameter "lang" is optional. |
For further information regarding the function and parameters, see the CTRL function dpQuery. Note that the reporting function "dpQuery" contains the parameter "lang" in addition to the parameters of the normal Control function.
SOAP Request
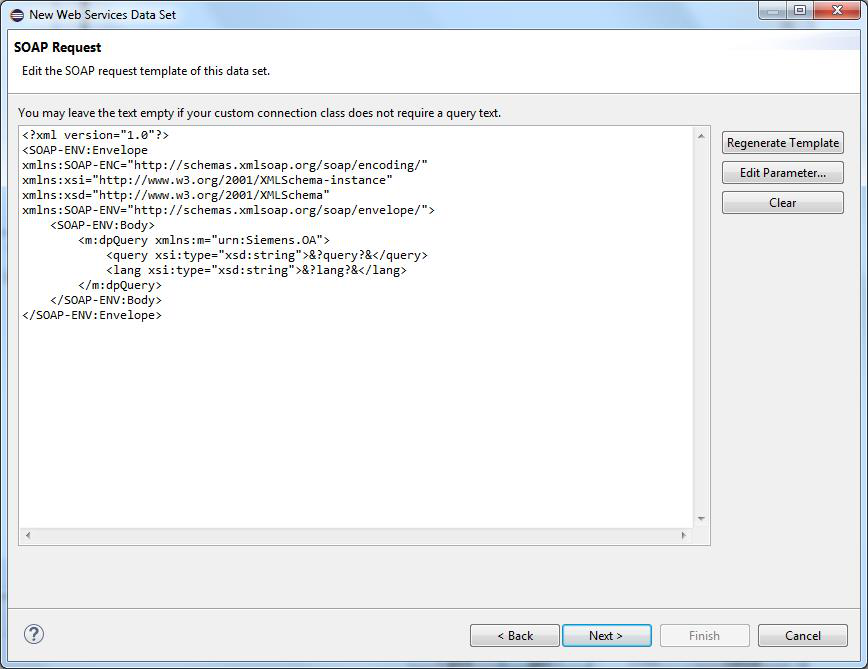
Click on Edit Parameter to specify values for the parameters:
Here you can see the query parameter for the function:
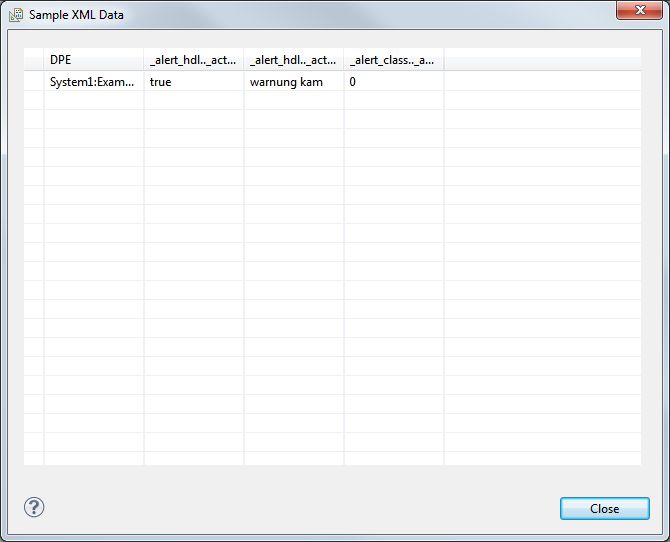
SELECT '_alert_hdl.._active, _alert_hdl.._act_text, _alert_class.._ack_type' FROM 'ExampleDP_Rpt1'

A maximum of 6 attributes can be queried via the Reporting function dpQuery. There are 7 elements available (columns 1 - 7 refer to Column Mapping). The column 1 is, however, automatically used for the dp element.
Click on the OK button and click on Next>. See chapter alertGetPeriod for a detailed description of the SOAP request.
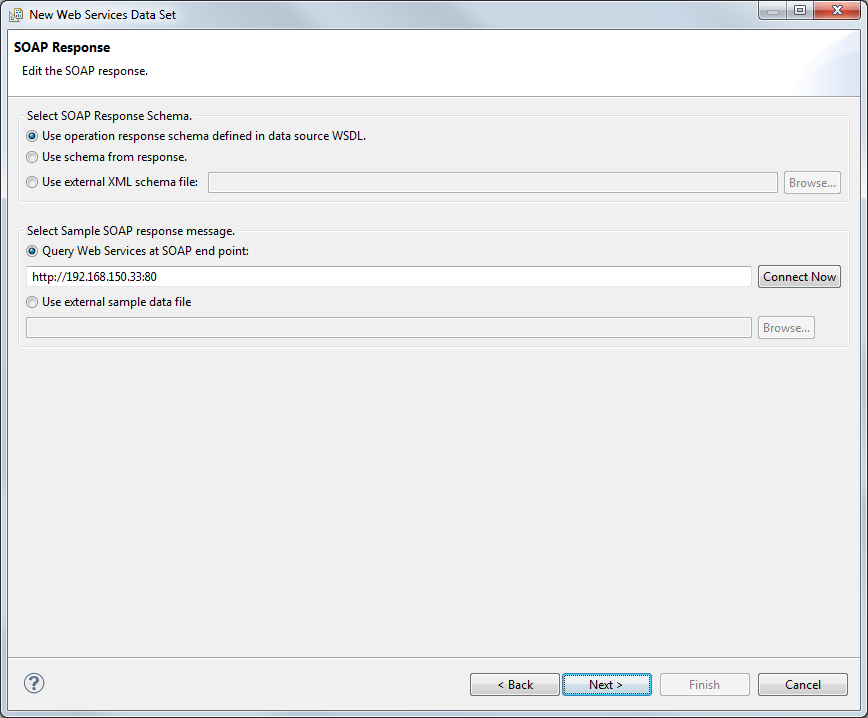
SOAP Response
No changes are necessary for this window. Click on Next>
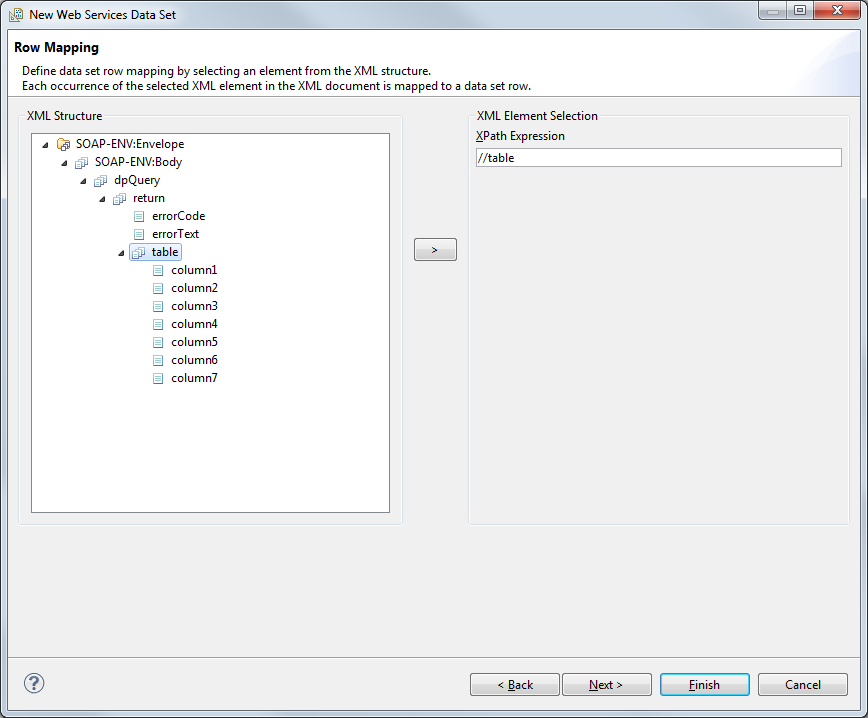
Row Mapping
Select "table" and click on the > button to select the XPath Expression. The "Select or edit the XPath expression" window is opened. Select the option "XML elements named "table" at any location" and click on the OK button. See chapter alertGetPeriod for a detailed description.
Column Mapping
The Column Mapping defines the columns for the table row. The columns are mapped to child elements or attributes within the selected data row element. In contrast to row mapping, you can select several elements. Select an element from the window on the left and click on the > button. The Column mapping window is opened. Select the data type from the combo box as well as the option "XML elements named "<element>" at any location". Click on the OK button.
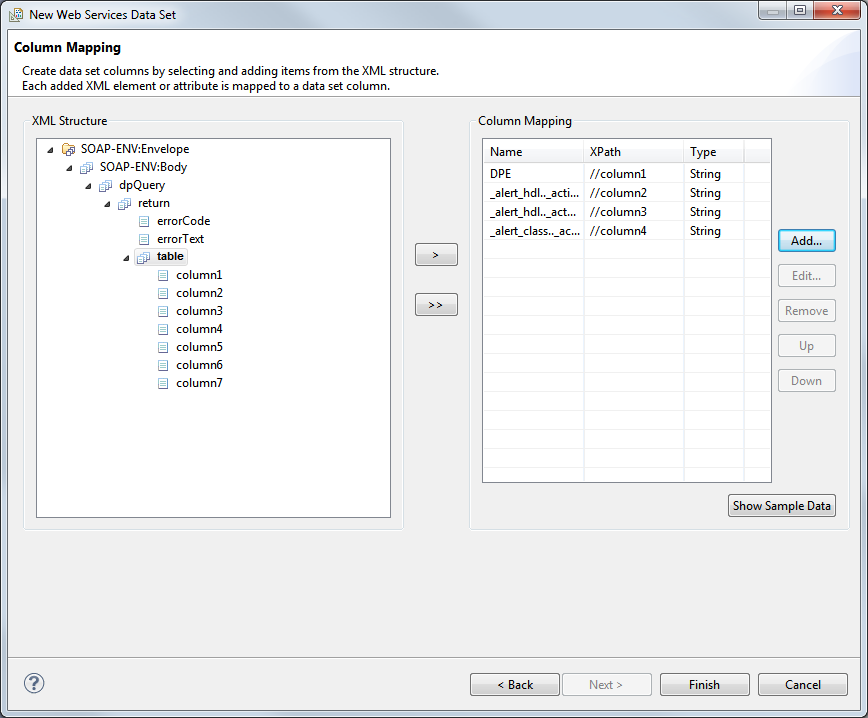
The column mapping contains the attributes:
column1 to column7 (A maximum of 6 attributes can be queried via the dpQuery function. There are 7 elements available (columns 1 - 7). The column 1 is, however, automatically used for the dp element. In the figure above the following attributes were queried: _alert_hdl.._active, _alert_hdl.._act_text und _alert_class.._ack_type, see the SQL query under Edit parameter.
You can also return the error code and the error text in addition to the alert attributes. Since these two elements are located on the same level as the /table, you cannot return them in the same data set. Thus, a second identical data set must be created to display the error code and the text.
| Error code | Description |
| -1 | dpQuery failed |
| -2 | Answergroup error |
As mentioned in the chapter alertGetPeriod, you have to specify default values for the parameters in order to use the "Show Sample Data" button. If the default values are set, you can check the settings before completing the configuration.