Inactivity/AutoLogout
The inactivity management in WinCC OA prevents not authorized persons or persons with a wrong identity to use a workplace for forbidden or not traceable operations.
If no operation takes place on a user interface within a set period of time, different pre-defined actions can be executed
(for example, automatic user log-out). With the aid of a WinCC OA script, you can also set the inactivity to be valid for a user. The actions are set with the aid of a configuration panel and are executed in case there is no activity for a specific time. Such actions can be, for example, activation of a screensaver, termination of the UI, Windows log-out.
In addition to those pre-defined actions you can also specify user-defined actions by using scripts.
Inactivity is defined as follows: no keyboard entry and no mouse movements or mouse clicks (any key) in or above a WinCC OA user interface window. If you use the mouse or keyboard outside a WinCC OA UI in another opened program, this is seen as inactivity for the UI. Additionally, if you use a program where the window is an active window over the UI, the UI registers this as inactivity.
Open the configuration panel for setting the actions in case of UI inactivity through the Settings tab of the System management panel.
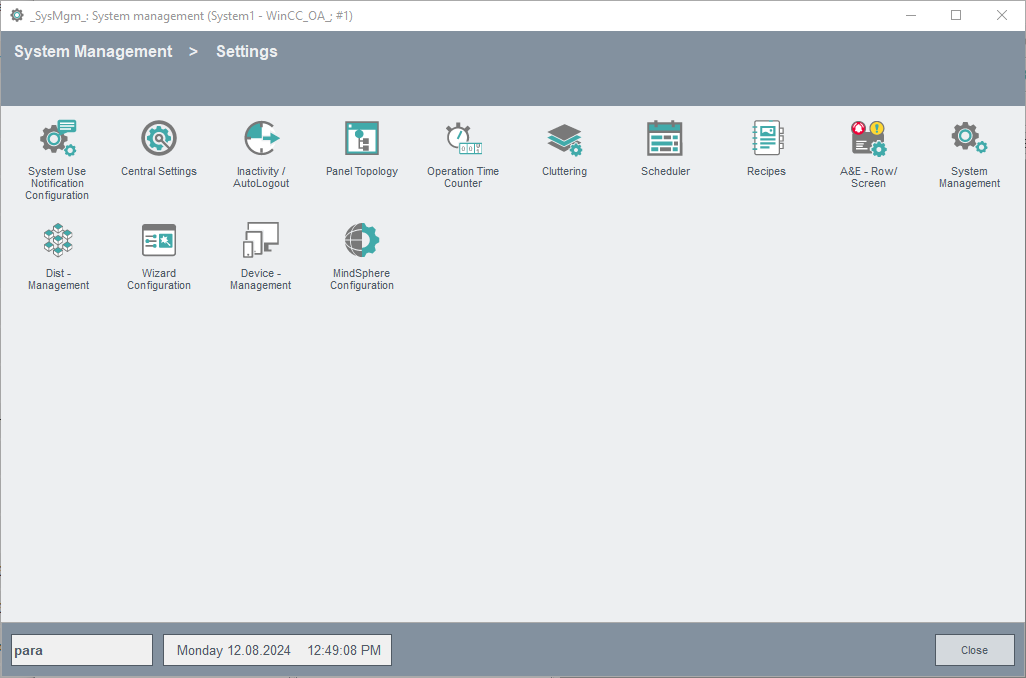
Click on the Inactivity/AutoLogout button. The following configuration panel opens. The panel allows making settings for different UI manager numbers.

-
UI manager number
Choose the desired manager number of the UI from the combo box. The subsequent settings are valid for this number. All manager numbers that are defined in the project are listed in this combo box. The numbers apply to the internal _Ui data points. If another UI manager number is chosen from this combo box, an additional button calledOwn UIis shown next to the combo box. Clicking on this button reveals the number of the UI in which the configuration panel was opened. You can also
-
Warning timeout
Set the time in hours respectively minutes with the aid of the spin box (max. 168 hours and 59 min.). If the adjusted time has expired and no activity was detected within this time, an alert handling is activated on the internal data point of theUIand a warningis shown in the alert panel. Additionally, you see a yellow blinking circular symbol in the panel to the left of the combo box for selecting theUImanager number. To the right of the timeout spin boxes are theDeletebuttons (with a black "X"). Clicking this button sets the time to 0. The timeout should be set to a value that still allows reacting before the actual execution of a configured action.
-
Commit timeout
Set the time in hours respectively minutes with the aid of the spin box (max. 168 hours and 59 min.). If the adjusted time has expired and no activity was detected within this time, an alert handling is activated on the internal data point of the UI and an alert is shown in the alert panel. At the same time, the configured action is also executed. After the timeout has expired, a red circular symbol is shown in the panel to the left of the combo box for selecting the UI manager number. To the right of the spin boxes are the Delete buttons (with a black "X"). Clicking this button sets the time to 0.
There are two options to start your own functions when the inactivity timeout was reached.
1.) Create a script with the name "inactivity.ctl" in the /scripts folder of the project directory. If the inactivity timeout of a UI is reached, the script will be started automatically.
2.) For this option you have to select "No action (disabled)". If the user interface is not used for the set time period, the following elements of the UI data point will be set (X is substituted with the manager-number):
_Ui_X.Inactivity.Warning
_Ui_X.Inactivity.Commit
You can react to the changes of these dp elements in a script (dpConnect) and start your own functions. This script can be used in the main panel (the panel that is always opened) or by a CTRL manager.
-
Action to commit
Defines the action that should be executed after the timeout has expired (see parameter Commit timeout). The following actions can be configured in this context:
-
-
No action (disabled): After expiration of the timeout, only a warning and alert are shown in the alert panel. Symbols in the inactivity configuration panel visualize the states.
-
Logout WinCC OA : After expiration of the timeout, a log-out of the current user in WinCC OA takes place. A modal WinCC OA login dialog is opened on all modules of the UI. No input is possible until the user is authorized again.
-
Start screensaver : Starts the configured Windows screensaver.
-
Logout and screensaver : Combines actions 2 and 3. (Logout and screensaver are only implemented for the KDE environment).
-
Kill local UI : Performs a proper log-out of the current user and closes the current UI. The UI is terminated even if no user is logged on.
-
Logout OS : After expiration of the timeout, a log-out of the current Windows user takes place.
-
If you want to use the auto logout feature, you should start the project as service since the operating system shuts down all services (and hence also the project) before a complete shutdown.
-
Logout automatically after
Set the time in hours respectively minutes with the aid of the spin boxes (max. 168 hours and 59 min.) After expiration, independent of any action on the UI, the current user will be automatically logged out. A modal WinCC OA login dialog is opened on all modules of the UI. No input is possible until the user is authorized again. On the right side beside the buttons you see the Delete button (black "X"). With this button you can set the time to 0.
-
OK
Closes the panel and saves the settings.
-
Apply
Applies the changes for the UI.
-
=> all UIs
Applies the settings made (Warning timeout, Commit timeout and Action to commit) to all UI manager numbers defined in the project.
-
Cancel
Closes the panel without saving the settings.
-
Help
Opens this page of the Online Help.


