File Synchronization
This panel is used to activate a manual file synchronization.
If the Project file Synchronization option was enabled in Configuration - Step 6 - Activation), an automatic project file synchronization is always triggered at certain intervals (the interval is specified in the step 5 (Configuration - Step 5 - Project File Synchronization).
The following configuration possibilities and functions are available:
- Activating a manual file synchronization
- Excluding files from manual synchronization
- Updating the timestamp of a file
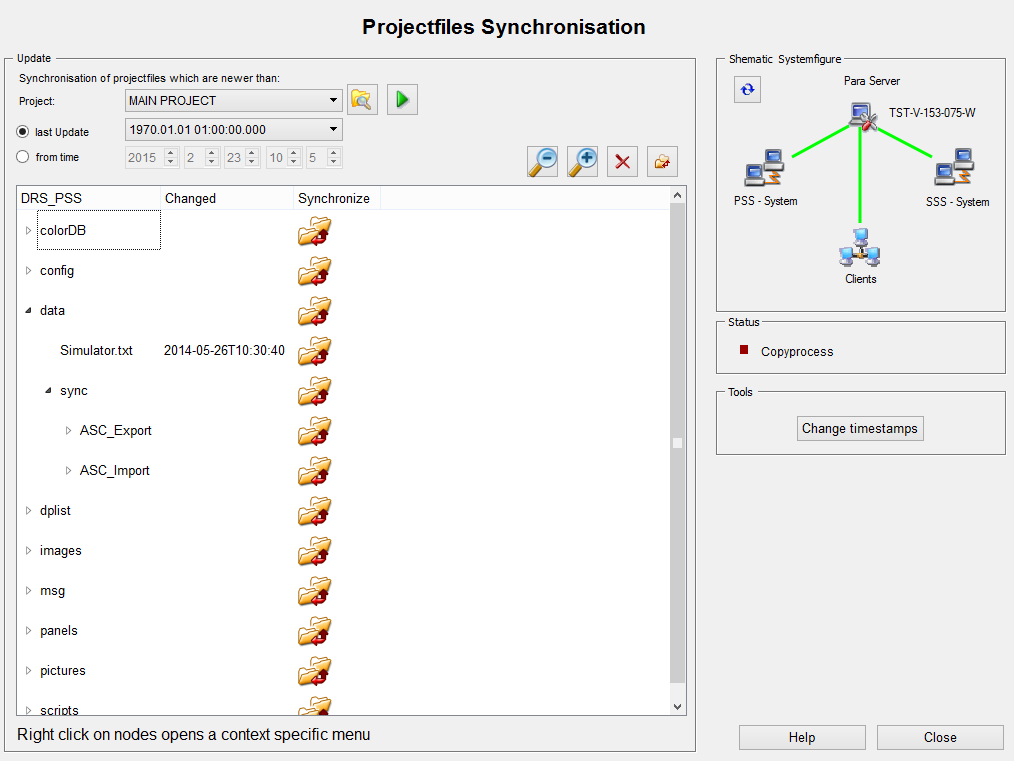
Manual file synchronization
You can choose between two different options for file synchronization:
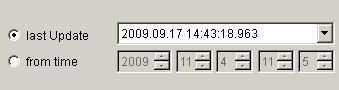
- Only files that have been changed since the last synchronization (last Update).
- All files that have been changed since a freely definable date (from time).
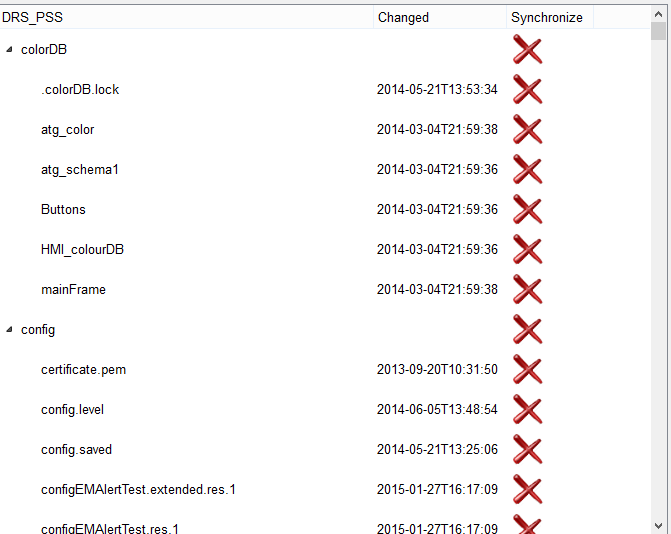
When you click the corresponding button![]() , all relevant files are searched and displayed in the panel. The panel
view contains tables. The files are listed in the tables of the panel (see the figure above). Synchronization can be started by clicking the
, all relevant files are searched and displayed in the panel. The panel
view contains tables. The files are listed in the tables of the panel (see the figure above). Synchronization can be started by clicking the ![]() button for both options.
button for both options.
The file types that can be synchronized are listed in the following tables:
- config - Configuration files
- data - file storage for add-ons, Reporting etc.
- panels - panel files
- scripts / libs - control scripts and libraries
- dplist - data point lists (ASCII files)
- colorDB - color databases (ASCII based)
- pictures - graphic files and images
- images - graphical content of the process images (process visualization)
- msg - text catalogs
You can open and close the directories by using the buttons:  .
.
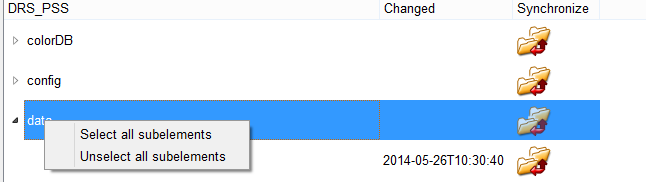
Excluding files from manual synchronization
Files can also be excluded from sync even though they have been changed. You can select or deselect all directories or select or exclude individual directories. To select all
directories, click on the  button. To deselect all directories, click the
  button. To select or deselect a directory, right-click a
directory and select or deselect the sub-items (see figure below).
button. To select or deselect a directory, right-click a
directory and select or deselect the sub-items (see figure below).
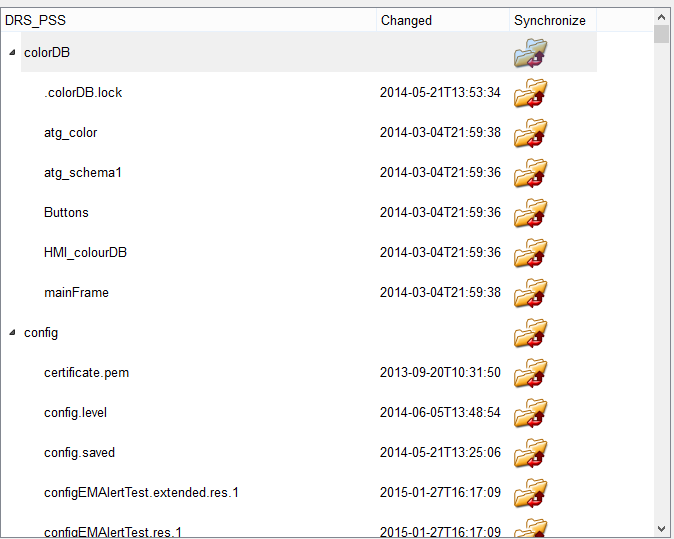

The icon means the directory is selected and the files are synchronized,

The symbol means that a directory has been deselected and the files will not be synchronized.
Updating the timestamp of a file
Click on the Change timestamps button in the file synchronization panel. The panel allows you to set the time stamp of a file to the current time.
How to UPDATE THE TIMESTAMP OF A FILE
- Click the
 button to select a directory whose files should be listed in the table.
 - Enter the search criteria in the Search mask text field. By default, the file extension is entered as the search criterion. However, you can use the wildcard
“*” in order to search for a certain part of the file name.
For example:
If you enter *wPan* in the text field of the search form, three panels (2nd, 3rd and 4th) will be listed since only these match the search criteria.
- Click the
 button to start the search and to list the found files in the table.
 - In the table, select the files whose timestamp should be updated. By holding down the “Ctrl” key, specific files can be highlighted, and by holding down the “Shift” key, entire file areas can be marked.
- Click the
 button to update the timestamp to the current time.


