Activate Virtual Container and Assign to Real Container
This task describes how to activate a virtual container and assign it to a real software container in the WinCC OA License Portal. Follow these steps to deploy the virtual container, confirm the assignment, and update the container details for your project.
Activating and assigning a virtual container ensures your project licenses are properly managed and available for use in the correct environment.
-
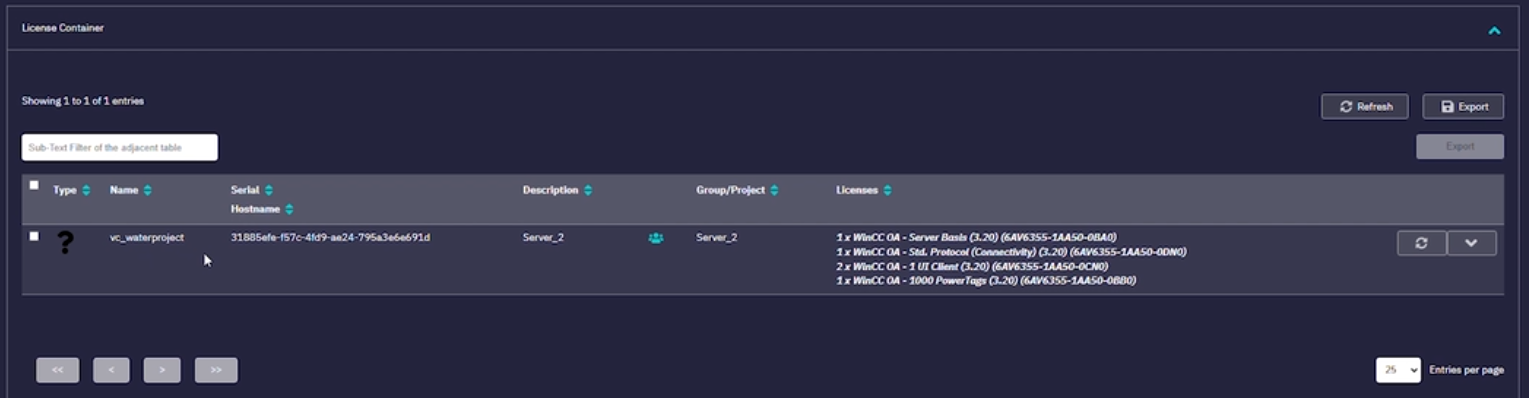
Navigate to your project containing the virtual container.
-
Verify the virtual container details.
Ensure you have selected the correct container for activation.
-
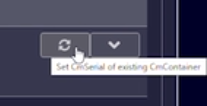
Click Set CM serial of existing CM container.
This initiates the activation process for the virtual container.
-
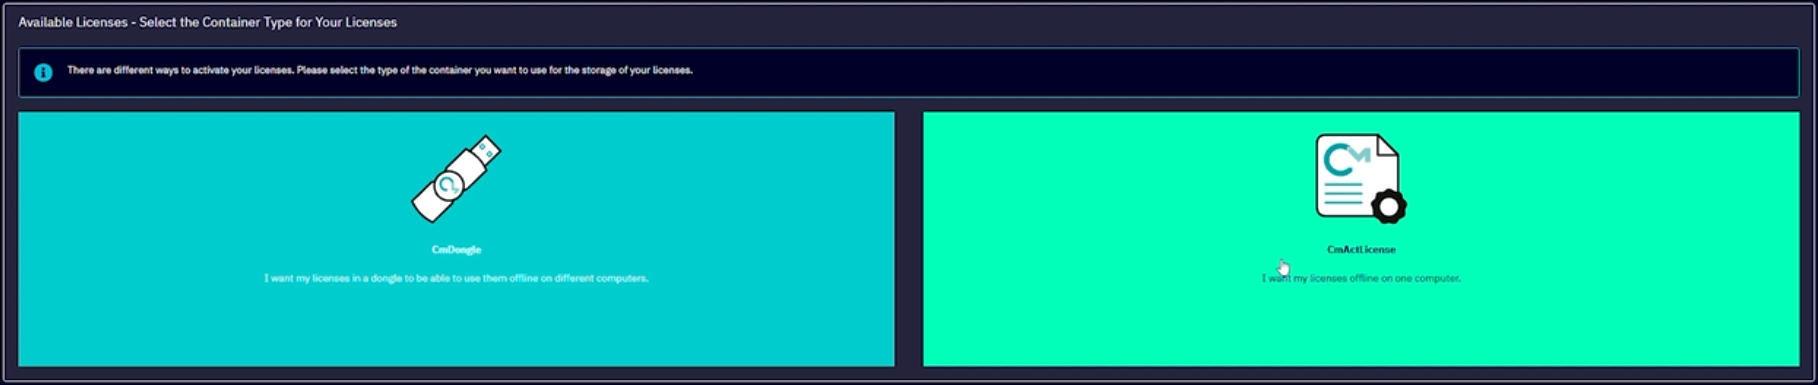
Select the container type when prompted.
Choose Software container for this example.
-
Choose your target software container from the list of available
containers.
Select the appropriate container to which the virtual container will be assigned.

-
Click Set CM serial of existing container to deploy the
virtual container.
The system will automatically assign the virtual container to the selected software container.

-
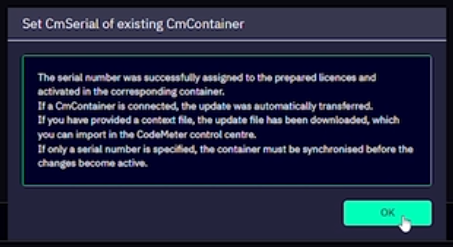
Wait for the confirmation message indicating successful assignment.
Click OK to complete the transition from virtual to real container.
-
Click Enable Changes to allow editing of the
project.
This step is required before making changes to the container name.
-
Edit the container and rename it as needed.
For example, change the name to 'Water project' to reflect its new status.
-
Click Release Changes to save your updates.
This finalizes the activation and renaming process.
The virtual container is now activated, assigned to a real software container, and updated with the correct name for your project.


