Requirements and Installation
Requirements
The authorization check plug-in is delivered with the standard installation of the WinCC OA.
Installation
- Set the config entry accessControlPlugin ="AuthCheckPlugin" in the [general] section of the config file.
- Configure the server-side authentication for managers. See Server-side authentication for managers - configuration. Depending on the used client solution, consider the settings for the Desktop UI or for the ULC UX.
- For the settings of the access control you need the administrator rights in WinCC OA. The rights are set via the authorization bit for administration (see System Management panel -> Permission -> System Permissions). In case of a standard installation, the authorization bit is 4.
-
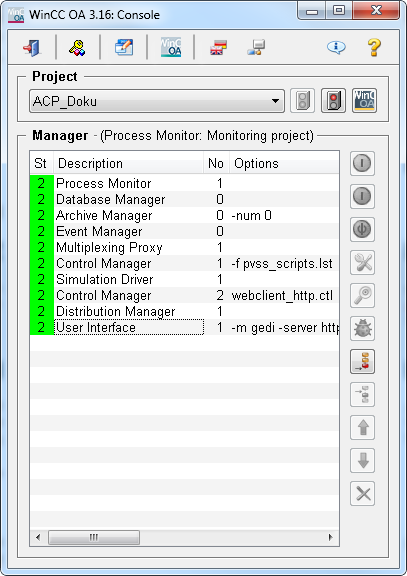
Open your project in the console of your project and execute the following steps:
Add the webclient_http.ctl script to your project. See the figure below (here the local computer is used).
-
Configure for the WinCC OA User Interface entries: -server-Option for the project so that the client can establish a connection to the server. E.g. for starting the module GEDI on local PC the following parameters are necessary:
-m gedi -server https://localhost:443 -ssa.
Now start the client of your choice e.g. the ULC UX via https://<hostname>/data/ulc/start.html.e.g. https://localhost/data/ulc/start.html.
Open the plug-in via the System Management panel -> Permission-> Authorization Check Plug-in.


