Translations in Excel
This chapter describes how to translate your panels by using Excel and then import them.
- Select the languages for the translation. This means the languages whose texts are translated.

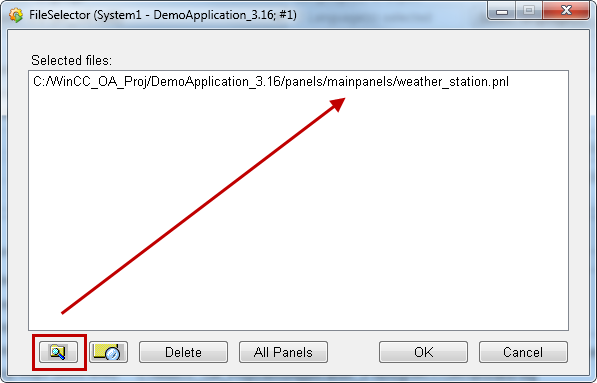
- Select the panel or panels that you want to translate in the translator panel.
-
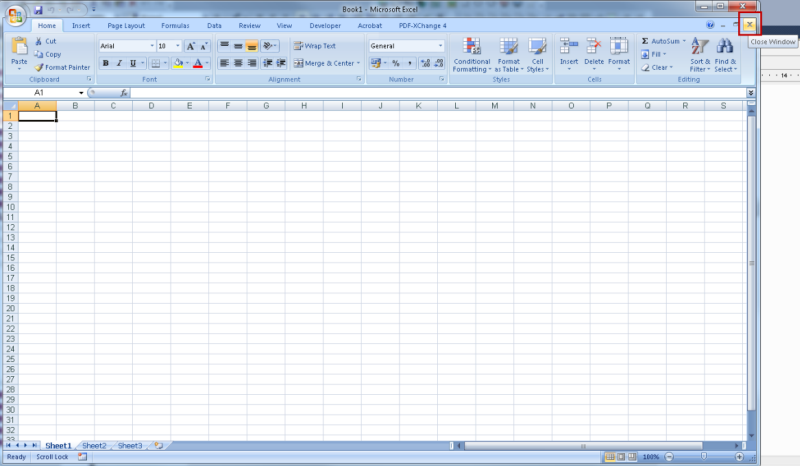
Open the Microsoft Excel and close the window with the worksheet - see figure below.
-
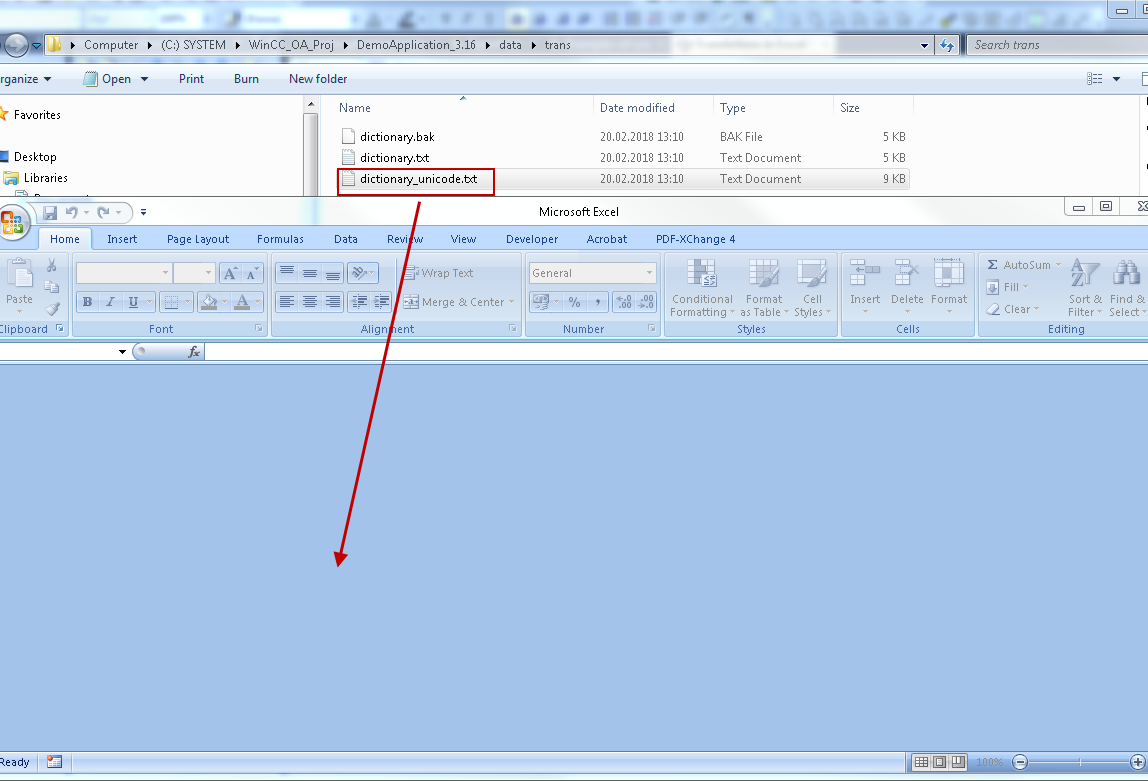
Drag and drop the "dictionary_unicode.txt" file into Excel.
-
Translate the words that should be translated.
-
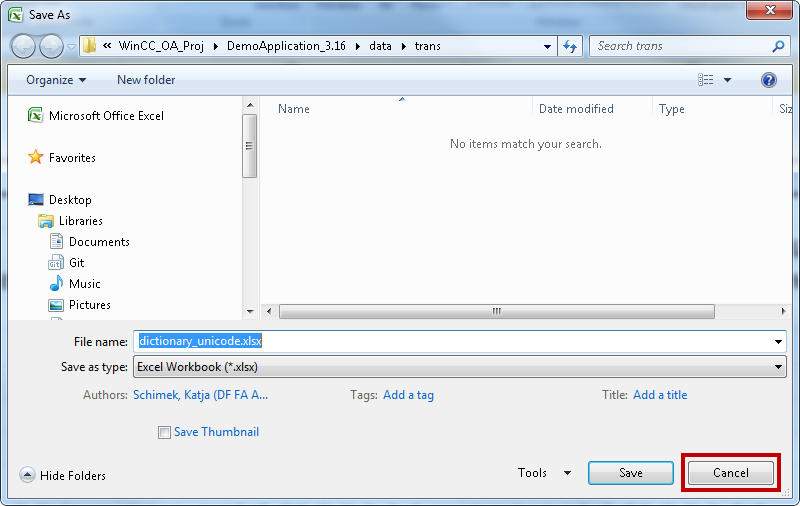
Save the file as follows. Click on "Save". The following window is opened. Close the dialog via "x".
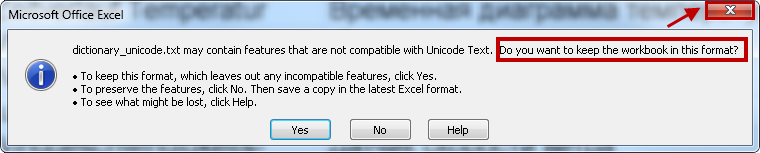
Select "Cancel".
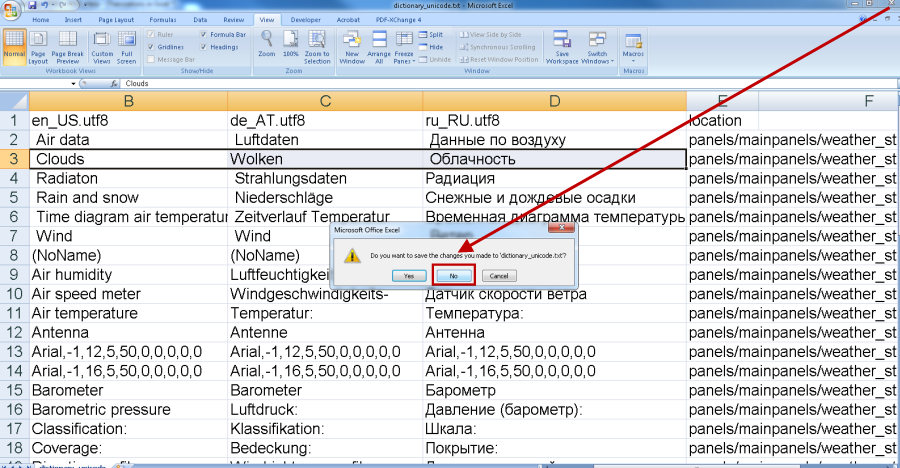
Close the file without saving the changes.
The file was changed:
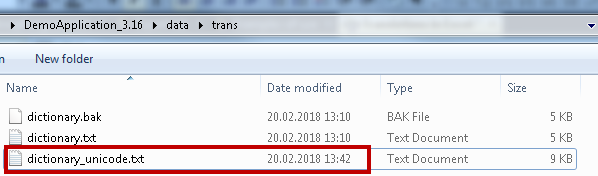
Copy the dictionary_unicode.txt -> dictionary.txt
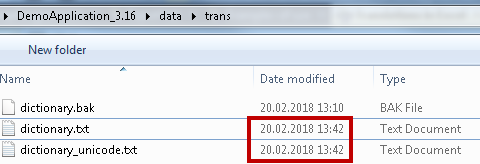
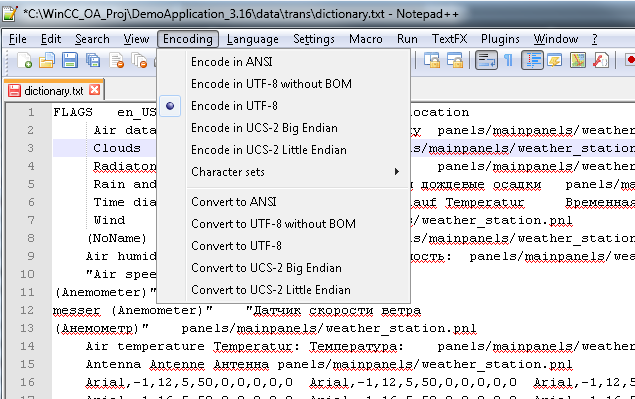
Set the UTF8 format for the dictionary.txt.
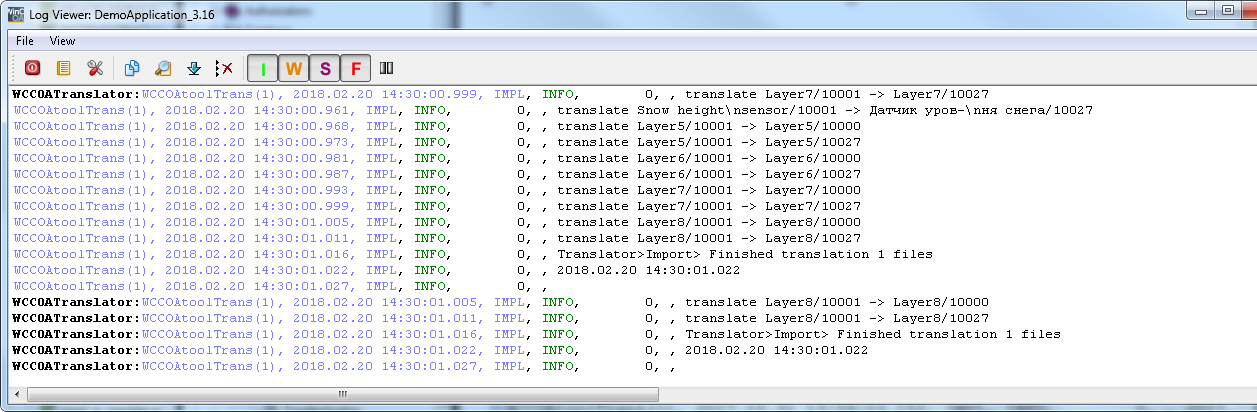
- Restart the UI and the translator panel. Import the translations as follows. Use the same settings as during the export but select additionally the option "Log - Verbose logging".
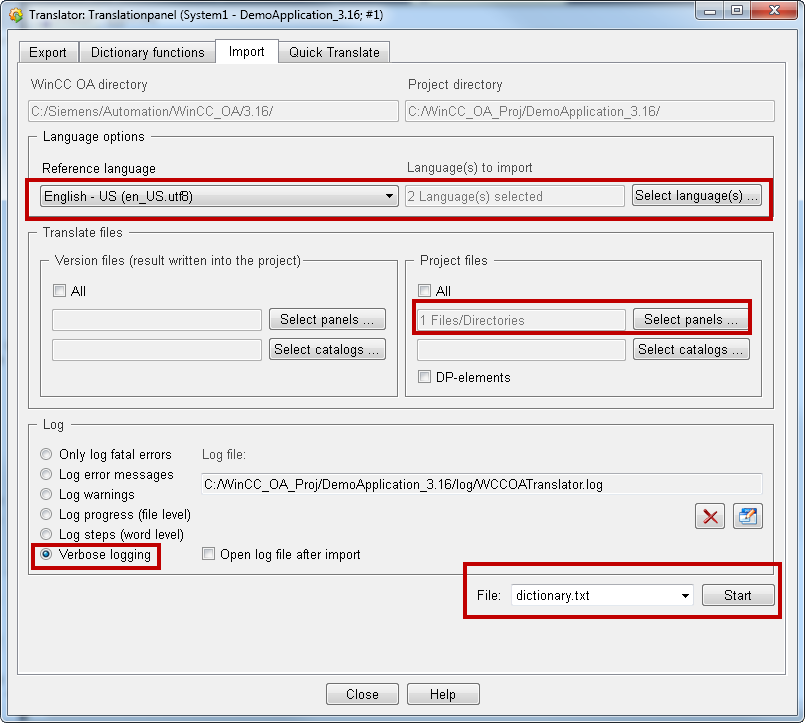
The info message that the words were translated is shown in the log viewer.