Branding the Desktop UI Installation
You can brand the installation of the WinCC OA Desktop UI. You can change the name of the Desktop UI, the installation directory as well as the color of the Desktop UI installation wizard. To brand your WinCC OA Installation, the following files must be modified:
| File | Meaning |
|---|---|
| /Branding/Resources/ProductConfiguration.wxi | Specifies general product information as a text: the product name, the product long name etc. In this file you can change the name of the Desktop UI as well as the installation directory of the Desktop UI for the installation. |
| /Branding/Resources/BundleFeatureStructure_DesktopUI.xml | This file specifies what is installed when you click on a specific text. In other words the file connects the packages of the Bundle_substituted.wxs file with the texts in this file. In this file you can also change the background and header colors for the installation wizard. If the background and header colors of the product were changed, also change the colors for the Desktop UI installation in the BundleFeatureStructure_DesktopUI.xml file. |
| /Branding/Shortcuts_substituted.wxs | The number of the shortcuts. |
In the following you can find a detailed description of how to brand your Desktop UI installation:
-
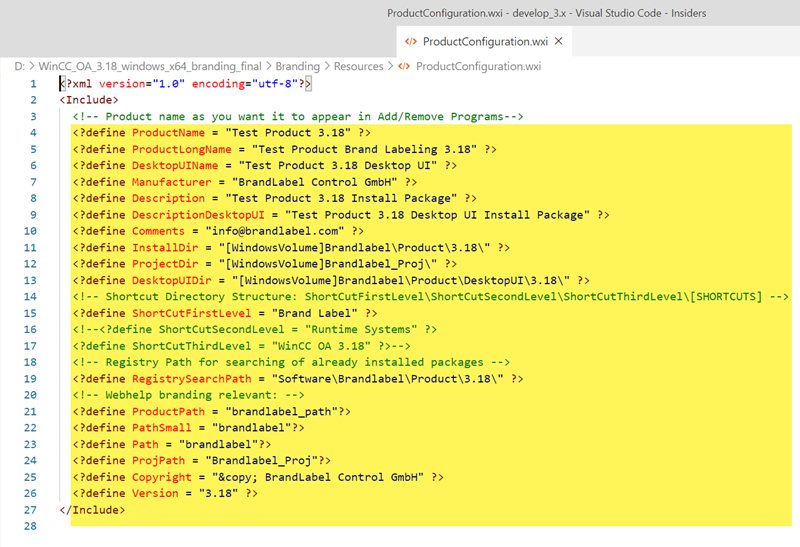
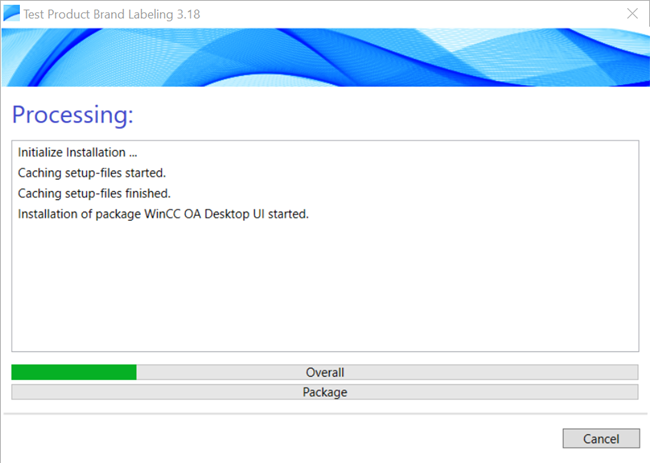
Change the name of the Desktop UI by changing the content of the variable DesktopUIName as well as the installation directory by changing the content of the variable DesktopUIDir in the ProductConfiguration.wxi file. In the example below the name was changed to "Test Product 3.18" and the installation directory to "[WindowsVolume]Brandlabel\Product\3.18\".
-
You can change the shortcuts of the Desktop UI. Furthermore, you can change the directory structure and files of the Desktop UI.
-
To change the number and the names of the shortcuts, change the name in the ProductConfiguration.wxs file and the number of the shortcuts in the Shortcuts_substituted.wxs file. By default nothing is changed.
-
In the ProductConfiguration.wxs change the name
<?define ProductName = "Test Product 3.18" ?>
<?define ProductLongName = "Test Product Brand Labeling 3.18" ?>
and
add or delete shortcuts. Here the name of the first shortcut level was changed and the others were commented out (<! .... ..> ):
<!-- Shortcut Directory Structure: ShortCutFirstLevel\ShortCutSecondLevel\ShortCutThirdLevel\[SHORTCUTS] -->
<?define ShortCutFirstLevel = "Brand Label" ?>
<!--<?define ShortCutSecondLevel = "Runtime Systems" ?>
<?define ShortCutThirdLevel = "WinCC OA 3.18" ?>-->
-
If you changed the background and header colors for the product installation wizard, you should also change the background and header colors for the Desktop UI installation wizard in the BundleFeatureStructure_DesktopUI.xml file.


-
In order to generate a brand labeled Desktop UI setup, start the generation for the product as follows. Use the -name option to specify a name for the setup file:
build.bat -build_desktopui -name brandLabel
The generated branded desktop UI setup is automatically copied to the product before the MSI setup is generated when the product is branded. The Desktop UI setup is always generated when branding the product.

You can find the generated brand labeled Desktop UI setup in the branding directory BuildStructure\data\clsetup\windows-64.
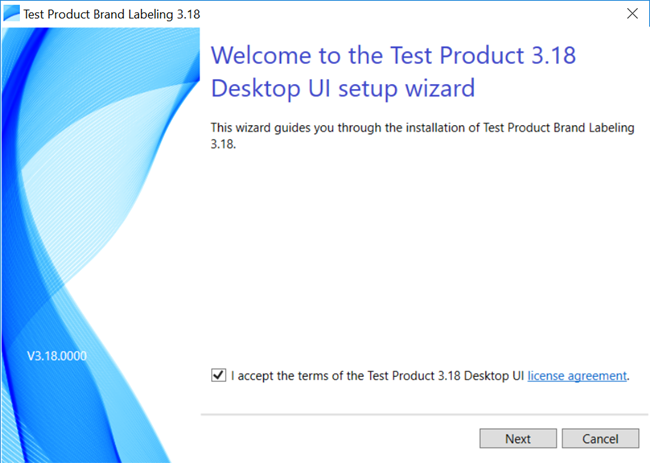
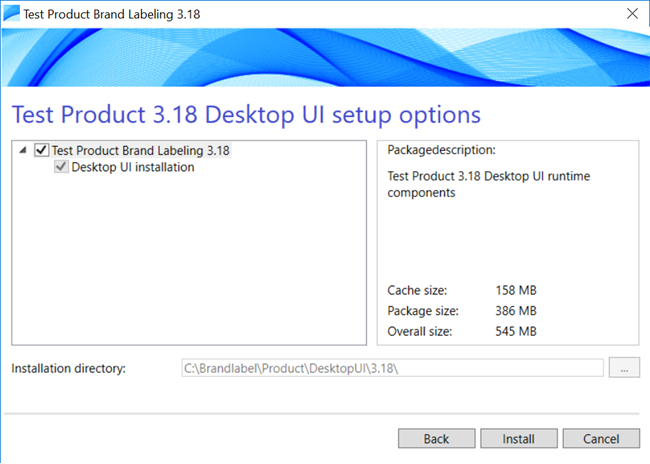
The following figures show the brand labeled setup:
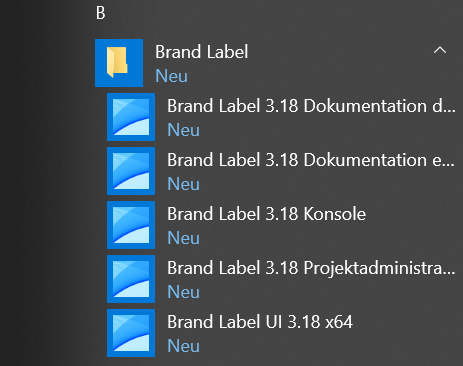
The Desktop UI can be opened via the start menu: