Installation Process
The installation described here includes all necessary components in order to deal with all examples of this manual on one computer. The base components for the operations, configurations as well as two example projects (DemoApplication_version and GettingStarted_version) are installed locally (single position system). For all other installation options, see the chapter installation. For instructions under Linux, see chapter Installation under Linux.
Although only the operation as single position system is planned, the system can be extended to several control stations (client-server) or also redundancy without new installation. However, for this extension a network card is required.
The file readme.txt in the root directory of the installation source (CD ROM, network) contains installation instructions.
Before you start the installation, make sure that all system requirements are fulfilled. Consider particularly that local administration rights are specified for the operating system under the current login.
Close all running programs and set the DVD "WinCC OA version / Windows" (or higher) into the drive of your computer. Wait until the auto start option calls the setup program. Alternatively, you can start the program manually by calling the file setup.exe in the root directory of the installation source. The installation dialog is shown during the installation process.
If other programs are running during the installation phase of WinCC OA, this could lead to incomplete or not correct installation. Consider also programs that run in the background. Moreover, some programs like MS Outlook slow down the installation drastically.
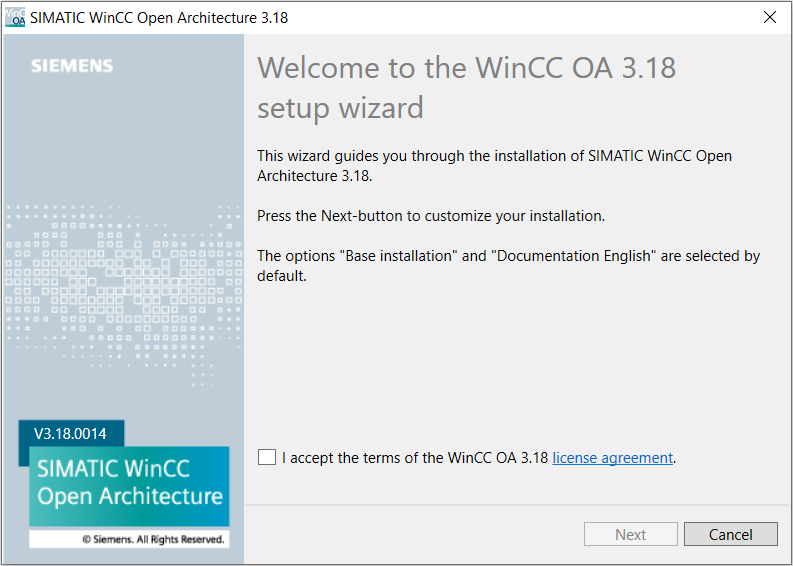
Execute the single steps of the installation wizards as described in the chapters Installation under Windows and Installation under Linux. If possible, always use the offered standard paths since all subsequent hints and instructions are based on these. For all options that are not explicitly mentioned here, use the offered presettings and click on Next.
After the correct installation WinCC OA informs you about the completion of the installation process.
You can close the last dialog and open the administration programs of the WinCC OA through the standard start menu of your operating system. For further details see chapter Installation under Windows.
In order to uninstall WinCC OA, use the option in the Control panel >Add or Remove Programs. See chapter Uninstall.
During the installation the following directory structure was created in the selected target directory. This is the place where basic elements of WinCC OA (executables, standard user interfaces, language catalogs, color definitions, graphic libraries, ...) were saved. See chapter Directory Structure.


