
Create Group
The Create Group feature in the WinCC OA License Portal enables you to organize licenses into structured groups and sub-groups for improved transparency and management. By building a hierarchical group structure, you can easily oversee and assign licenses to your WinCC OA servers. This process streamlines license administration and enhances clarity across your projects.
-
Navigate to your main profile in the License Portal.
For example, select your user profile such as 'Petar Anic'.
-
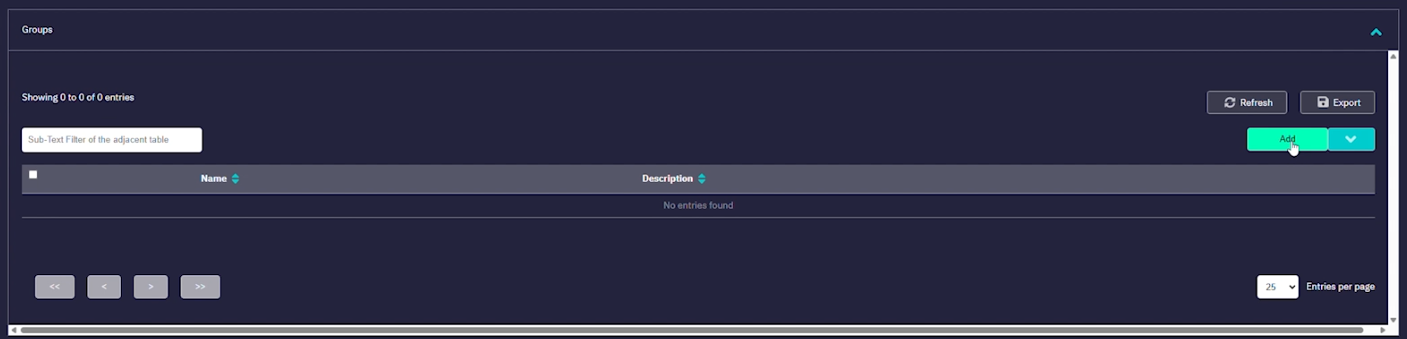
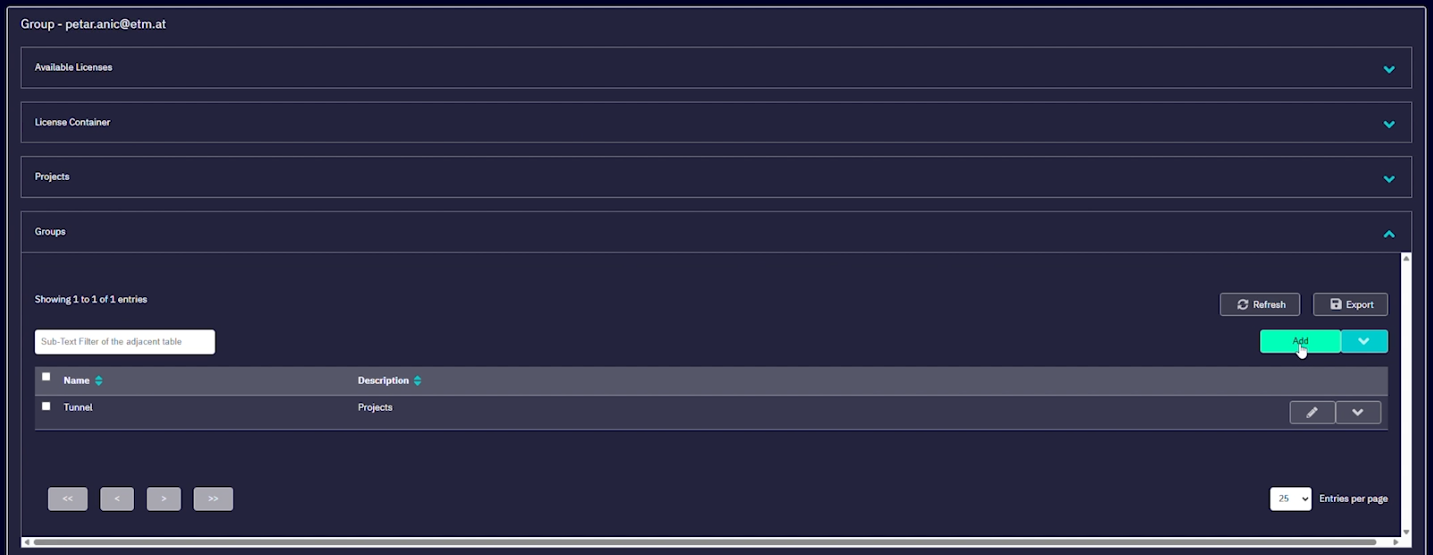
Click on Groups and select Add New
Group.
Enter a name for your new group (e.g., "Tunnel") and add a helpful description (e.g., "Tunnel Projects").

-
Confirm to create the group.
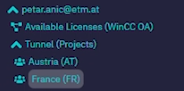
The new group will appear on the left side of your group tree.
-
To add sub-groups, select the main group you just created.
Click Groups > Add New Group again. For example, create a sub-group named "Austria" with the description "AT".
-
Repeat the process to add additional sub-groups as needed.
Ensure you select the correct parent group before adding each sub-group (e.g., "France" under "Tunnel").
-
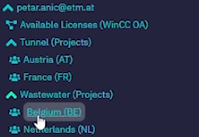
To create another main project type, return to the top level of your group
tree.
Click Add New Group and enter a new name (e.g., "Wastewater Projects").
-
Add regional sub-groups under the new main group as needed.
For example, add "Netherlands" and "Belgium" under "Wastewater Projects".
-
Continue building your group structure as required.
You can create further sub-groups (e.g., for specific cities, tunnel names, or individual servers) under regional groups, but you cannot create sub-groups below the 'Projects' level.
You now have a well-organized group structure for your licenses, with main project types and regional sub-groups, making it easy to manage and assign containers to your WinCC OA servers.