
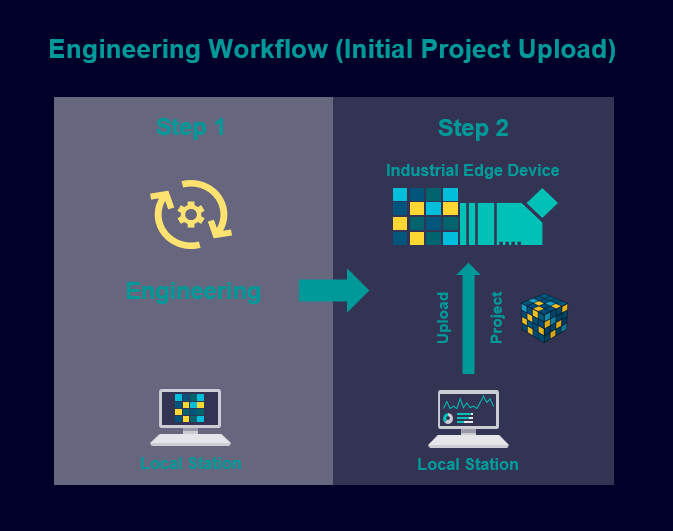
Data Integration: WinCC OA, Databus (MQTT) and Flow Creator
This chapter outlines the workflow for integrating data between WinCC OA, Industrial Edge Databus (MQTT), and Flow Creator. It explains how data is published from WinCC OA to the Databus, processed or subscribed to by Flow Creator, and optionally sent back to WinCC OA.
Install WinCC OA, Databus, and Flow Creator
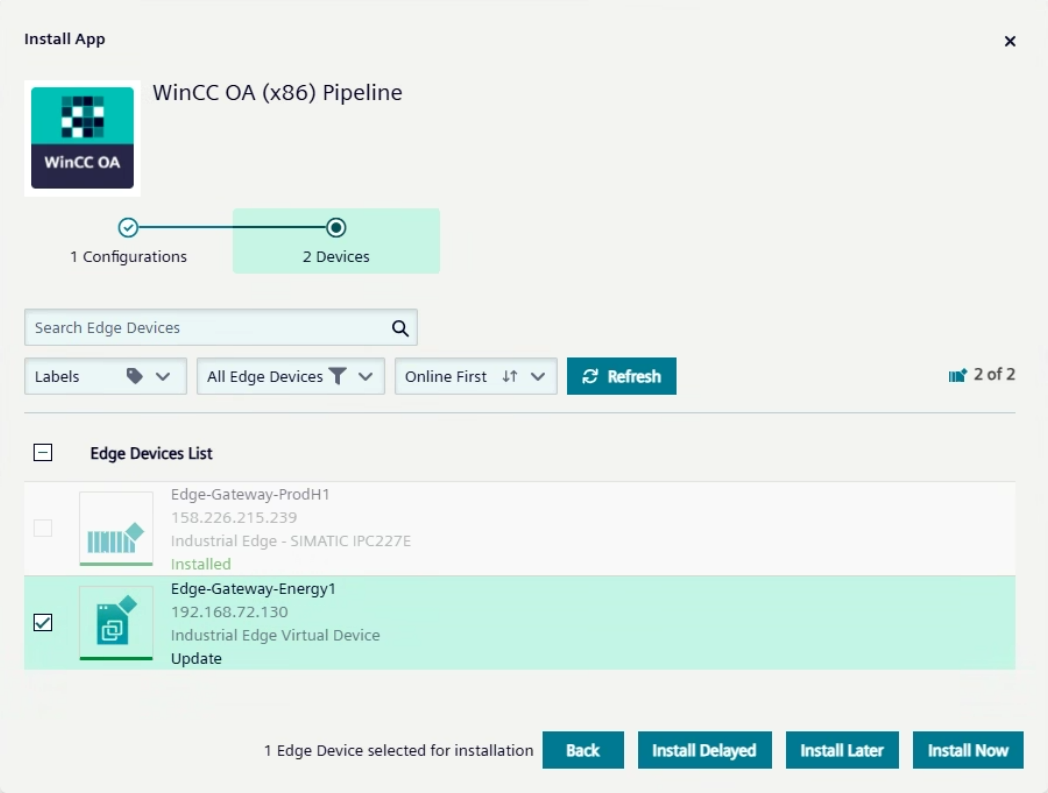
Install the required applications using Industrial Edge Management.
-
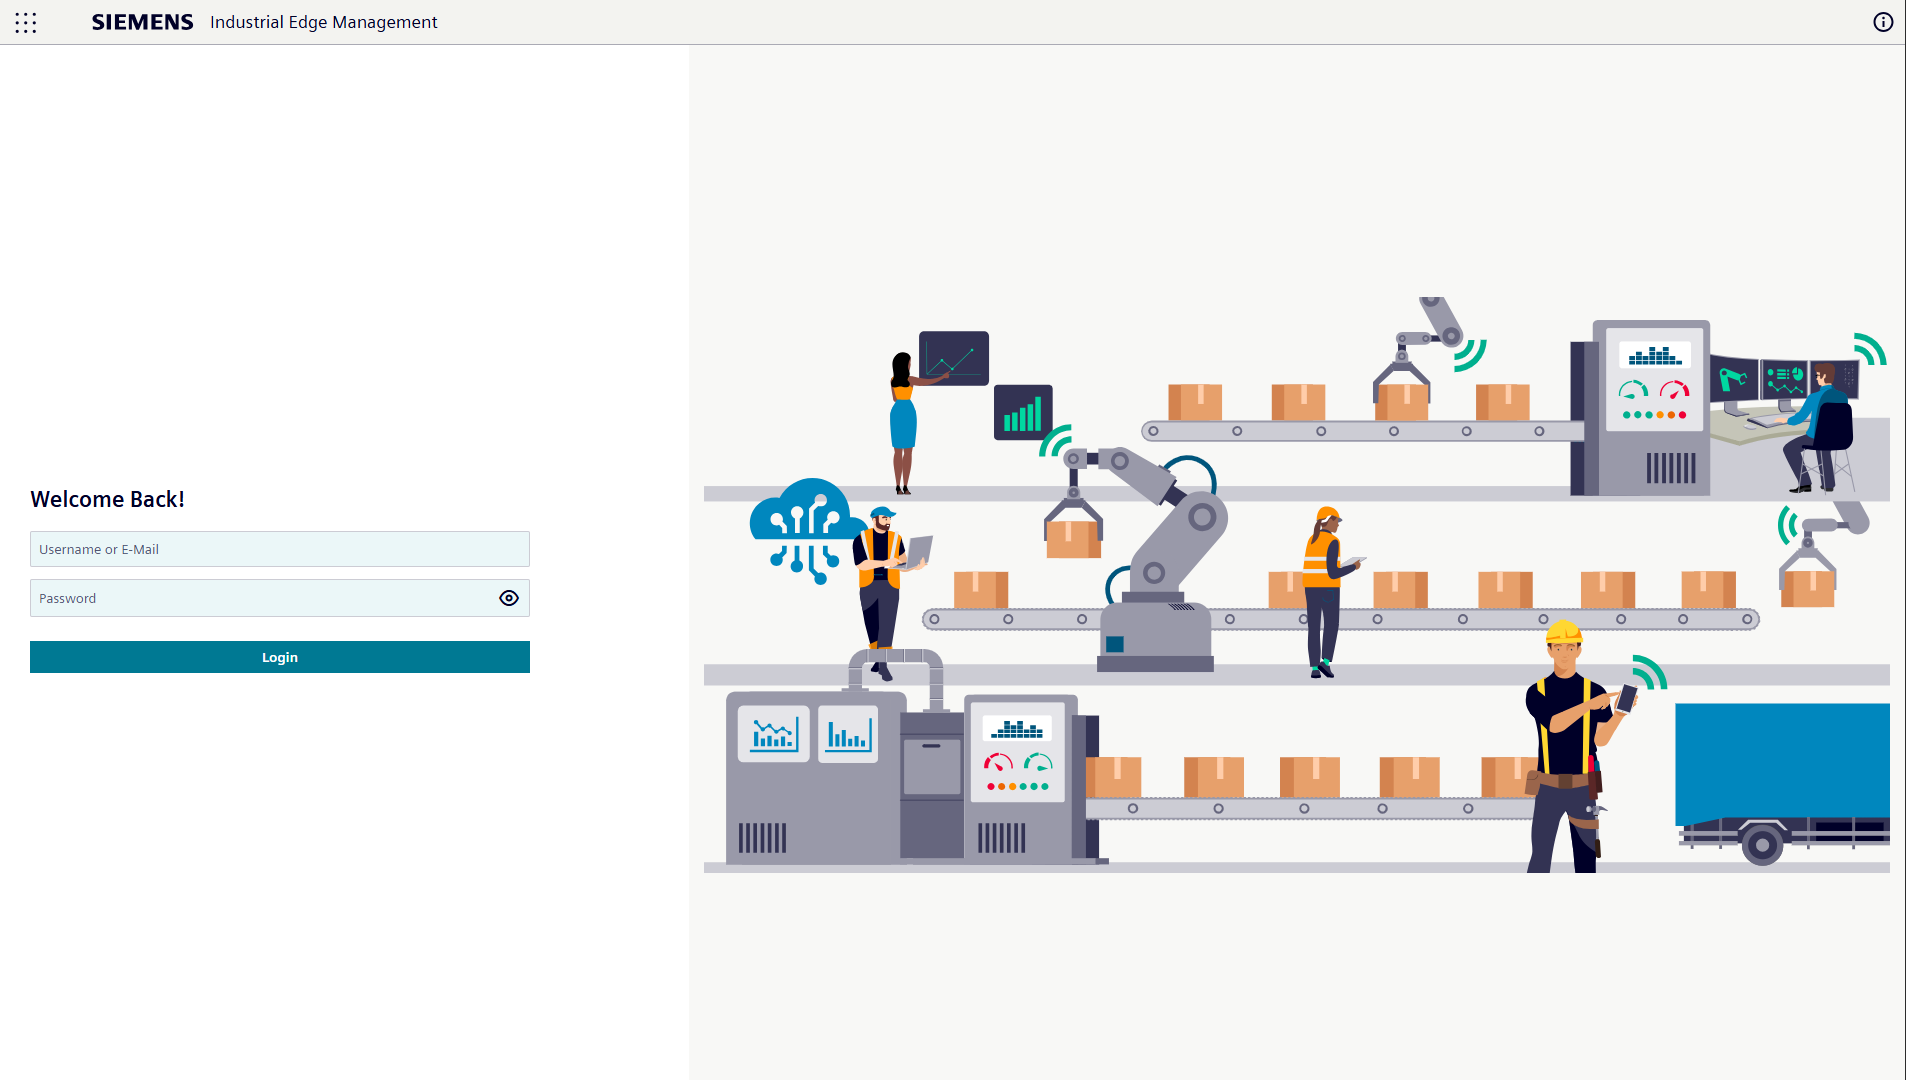
Log in to your local Industrial Edge Management instance.
-
Go to the Catalog and install WinCC OA
(x86), Databus, and Flow
Creator on your device.
Set Up Databus MQTT Topic and User Credentials
Create a topic and set default credentials for MQTT access.
-
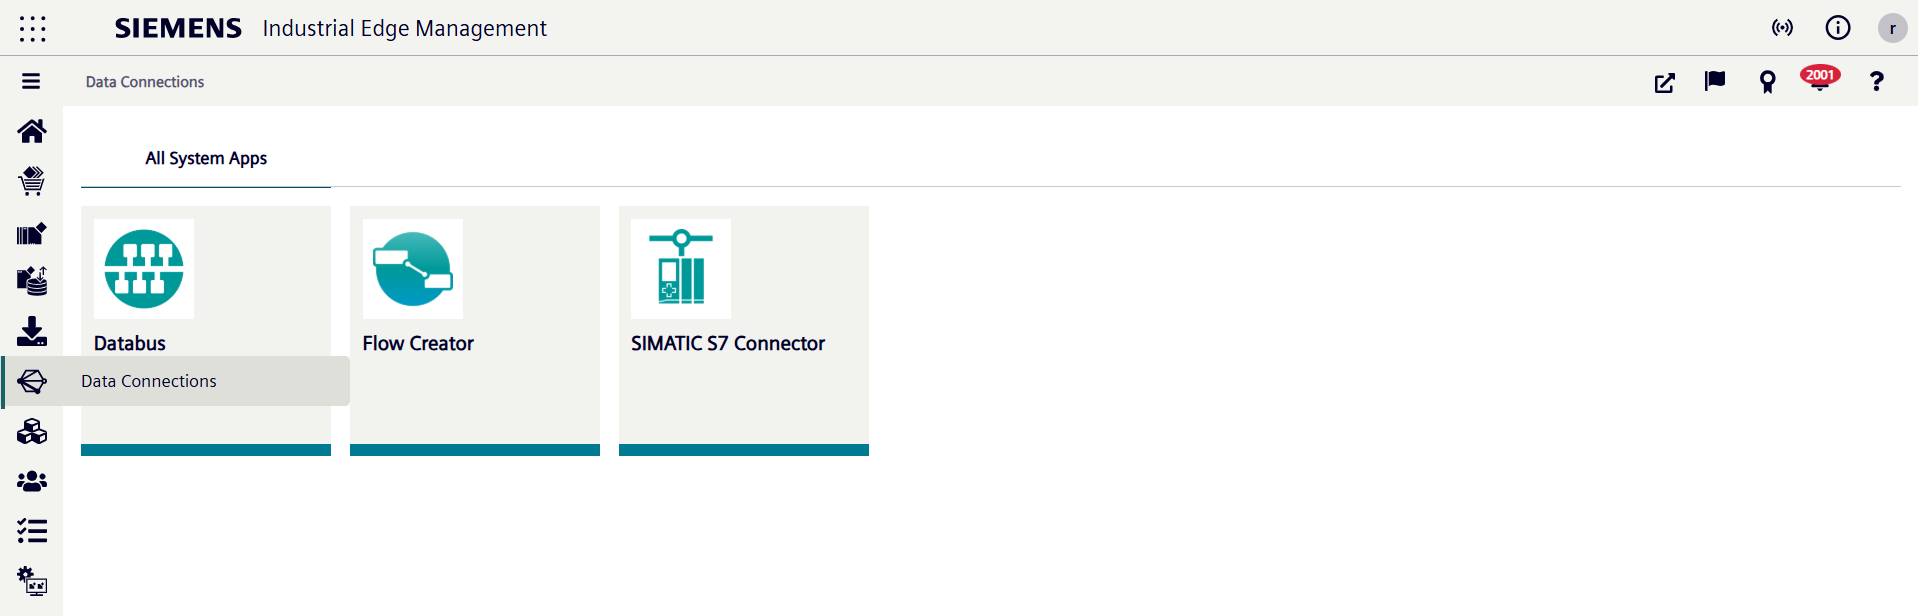
In Data Connections, select Databus and start it on the Edge Device.
-
In the Databus Configurator, add a new topic by clicking the + button in the Users list.

-
Enter the Topic name, Username, Password, and Permission for the new topic.
Example root topic: /winccoa/#; default username and password: admin/admin.
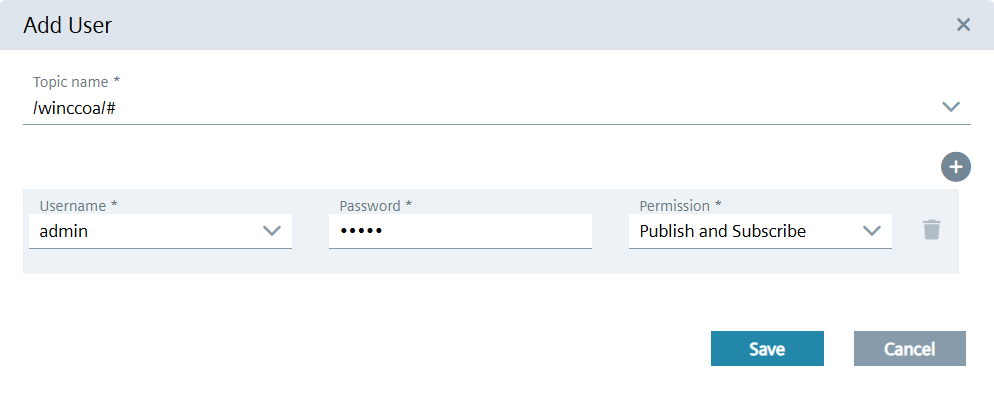
- Deploy the configuration to apply and save your settings.
Set Up an MQTT Data Flow Using Flow Creator
Configure MQTT nodes in Flow Creator to exchange data between Databus and WinCC OA.
-
Go to your Edge Device by selecting it from the Edge
Devices overview.
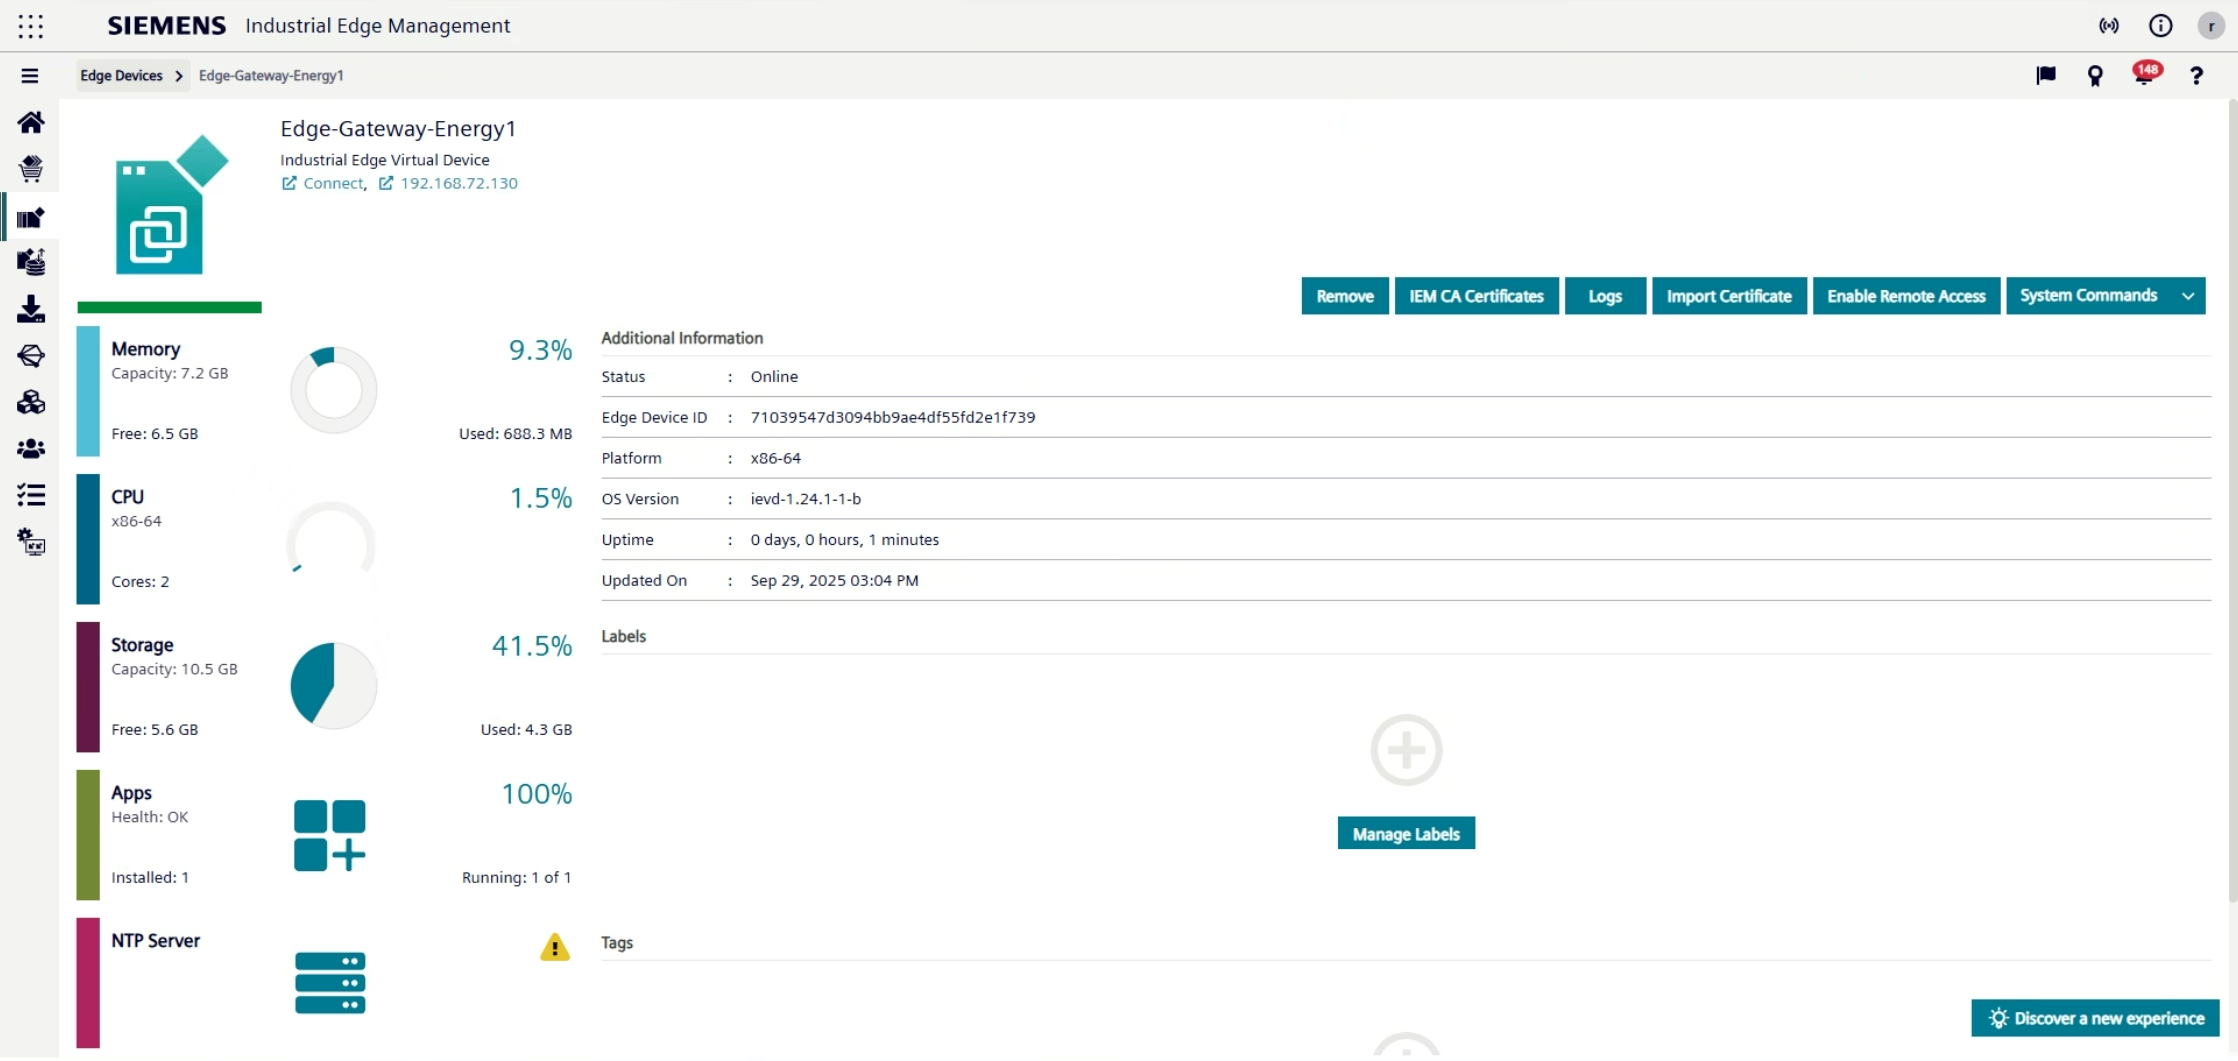
- Log in to your Edge Device.
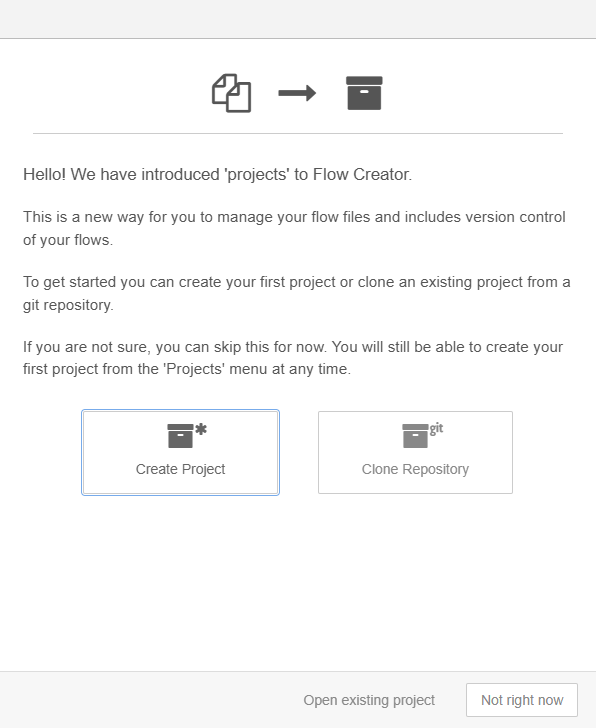
- On your Edge Device, open Flow Creator.
-
In the lower right corner, select Not right now to skip
project creation.
- On the left side of the interface, you will see nodes that you can drag into the main area. These nodes allow you to publish and subscribe to values using MQTT.
- Drag the following nodes into the workspace: mqtt in, debug, another mqtt in, and an mqtt out.
- Connect one mqtt in with the debug node and the second mqtt in node with the mqtt out node.
-
Configure the mqtt in node that is connected to the
debug node.
-
Double-click the mqtt in node to open its
properties.

-
In the broker dialog, enter a name, set the hostname to
ie-databus, and add/save the broker.

-
Double-click the mqtt in node to open its
properties.
-
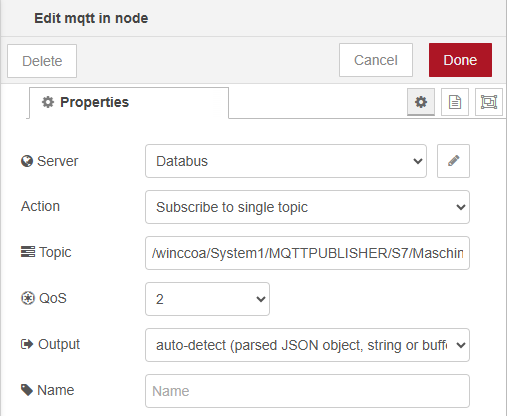
Configure the second mqtt in node.
-
In the Topic field, enter
/winccoa/System1/MQTTPUBLISHER/S7/Maschine_Nachbereitung/Sensor_01.
This is a tag published by the WinCC OA project.
-
In the Topic field, enter
/winccoa/System1/MQTTPUBLISHER/S7/Maschine_Nachbereitung/Sensor_01.
-
Configure the mqtt out node to publish data back to WinCC OA.
-
Double-click the mqtt out node to open its
properties.

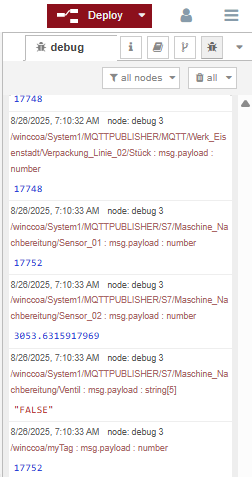
If you used the default values and the WinCC OA project is running, you should now see values in the debug window of the Flow Creator.
If you do not see any values, you may need to adjust the configuration in the WinCC OA project, see. Instructions for this are provided in the following steps.
-
Double-click the mqtt out node to open its
properties.
Configure WinCC OA to provide MQTT Data for the Databus
Set up, configure, and connect a WinCC OA project on an Edge Device and an engineering station.
- Log in to your Edge Device and open the WinCC OA (x86) App UI.
-
Log in using the default credentials.
User: admin, Password: adminImportant:You will be asked to change the password and log in again. Make sure to remember your new password. If you forget it, you will need to reset the volumes.
-
Go to the Upload card and install the demo project.
- Click the Download button to download the project. You will configure it later on the engineering station.
-
Start the project by clicking the Start button.
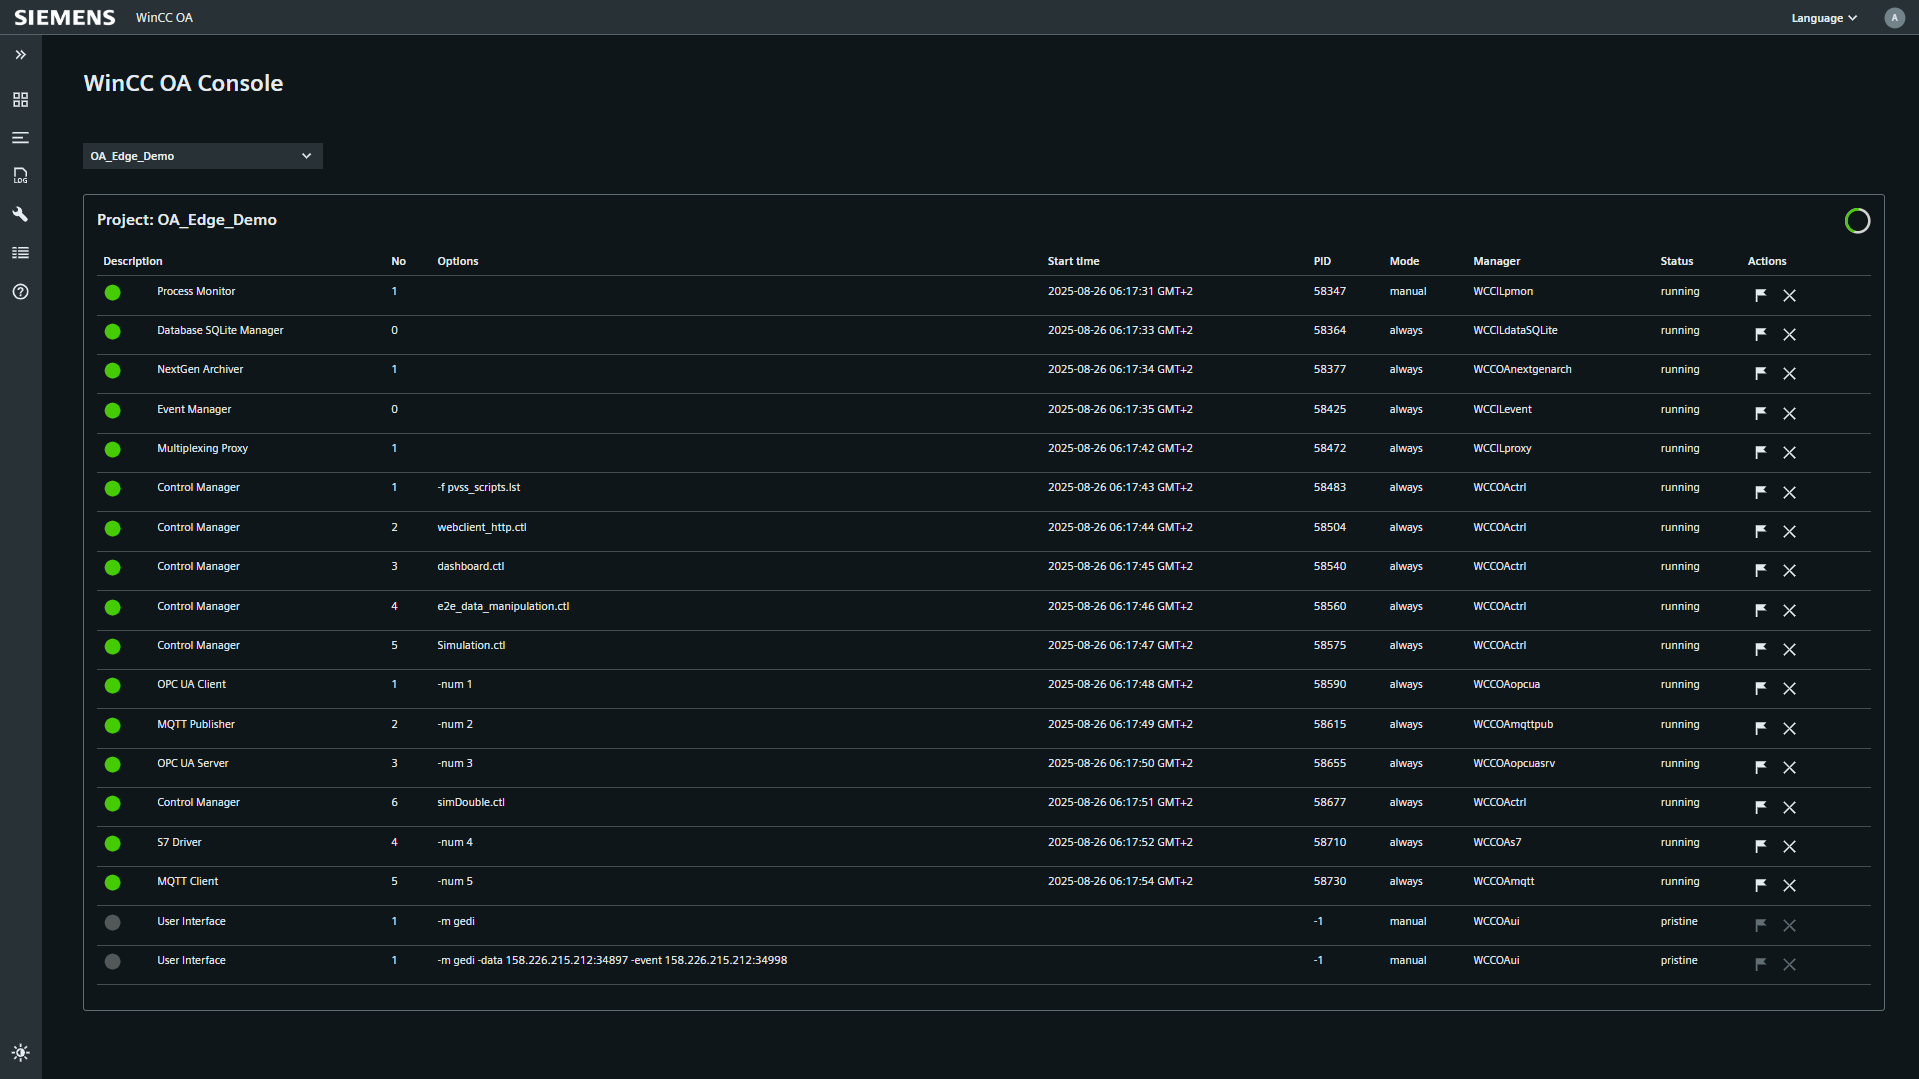
In the Console tab, check if the project has started successfully.

-
Check the project status in the WinCC OA
Console tab.
All managers, except the User Interface managers, should show a green LED.
 Note:If you are only using default values for demonstration purposes, you can skip the following steps for configuring an MQTT client and continue here.
 - Switch to your engineering station and extract the downloaded demo project.
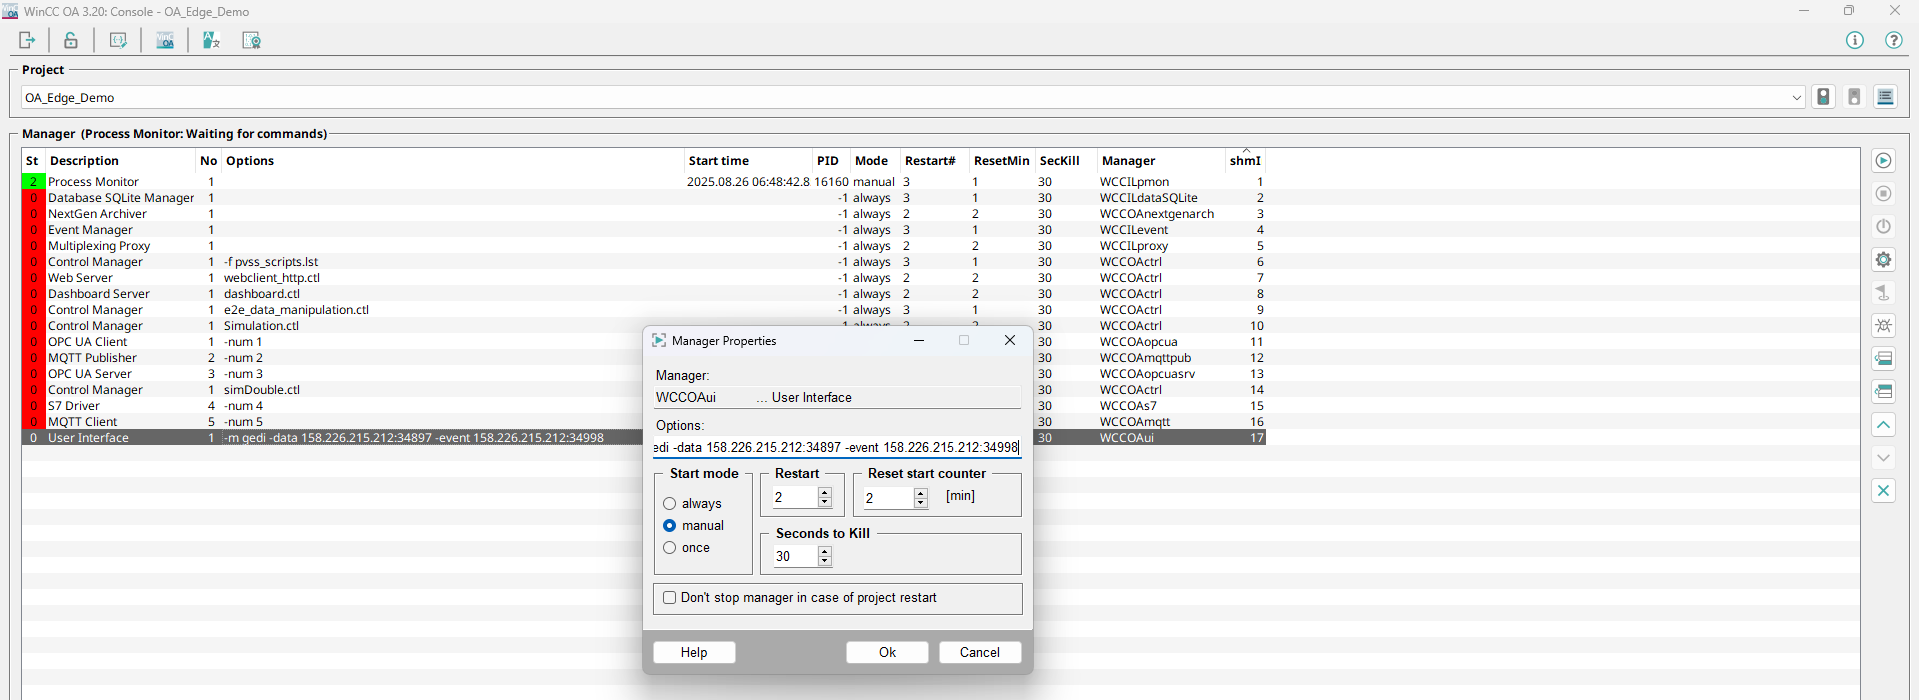
- Start WinCC OA 3.20 Project Administration.
-
Register a new project and select the folder where you extracted the demo project.
For more details on registering a WinCC OA project, see Register project
-
Edit the project configuration file.
-
Double-click the User Interface manager and update the IP addresses for -event and -data to match the IP address and ports of your Edge Device.
-
Double-click the User Interface manager and update the IP addresses for -event and -data to match the IP address and ports of your Edge Device.
-
Connect remotely to the project running on the Edge Device.
Start the manager by clicking Start. With Remote UI, you can work directly on the device project, but some features may be limited.
-
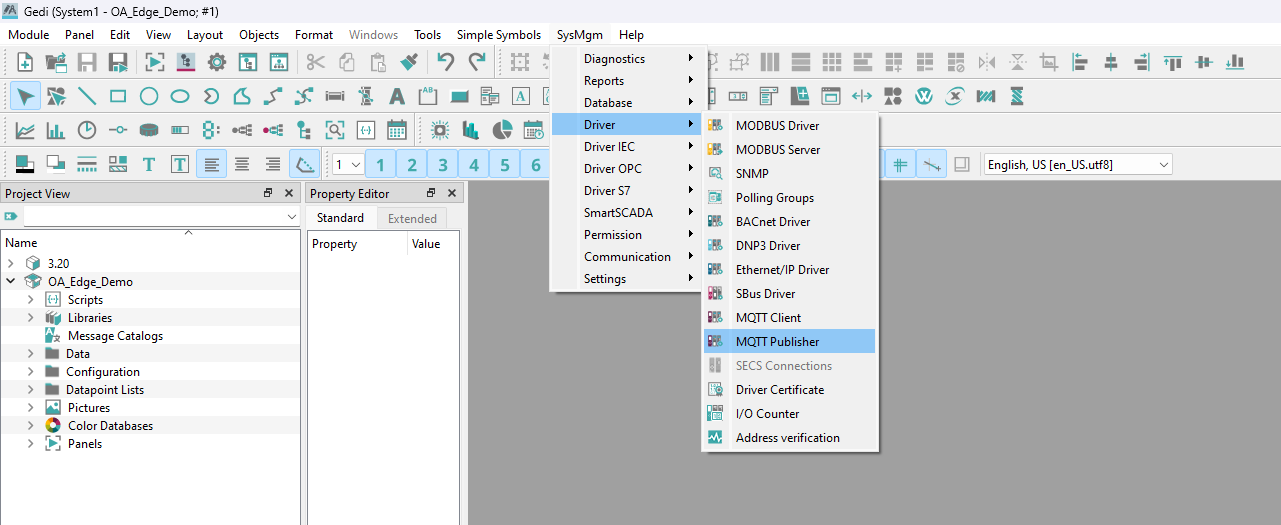
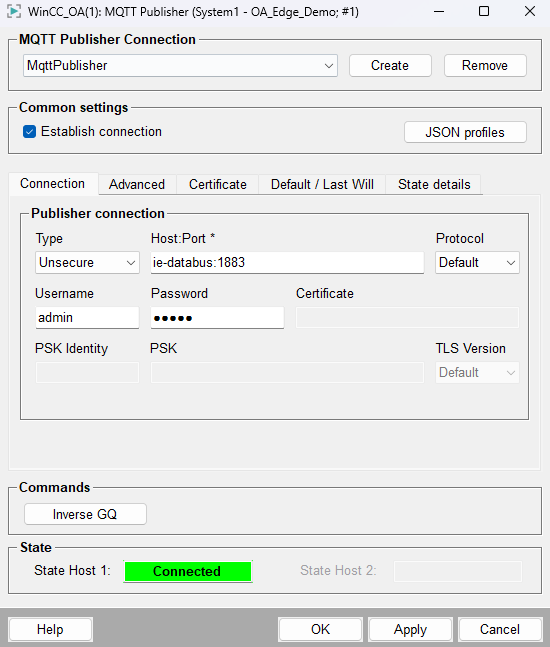
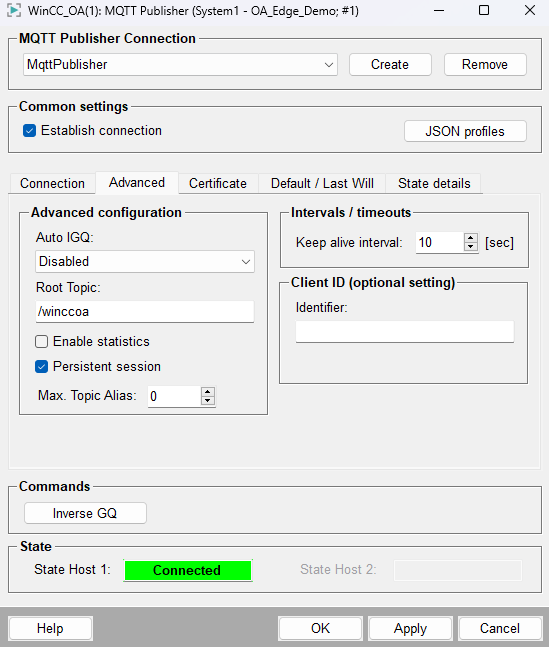
Open GEDI and adjust the MQTT Publisher settings if you did not use the default values.
If you changed the credentials or root topic from the defaults, update them here. To re-establish the connection: clear Establish connection, click Apply, enable it again, and click Apply once more.
-
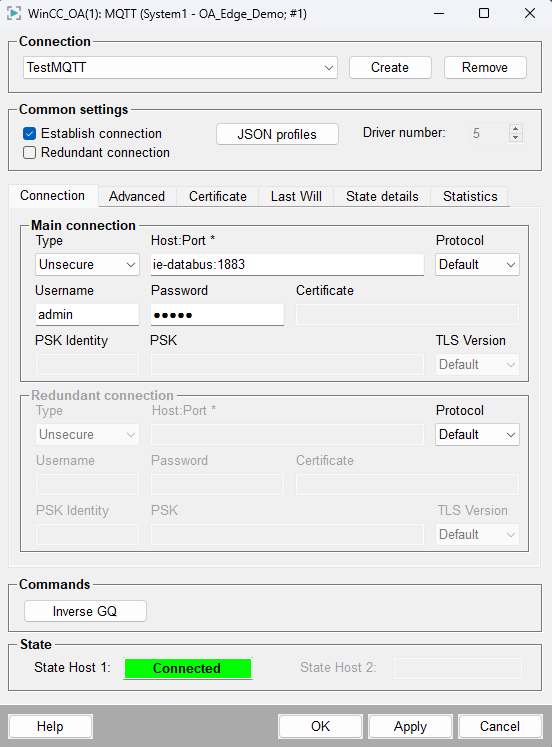
Update the MQTT Client settings if you changed the user or password from the defaults.

- Close the project when you finish remote engineering.
-
Check that data is streaming correctly in Flow Creator.
If everything is set up correctly, you should see a stream of values in the Flow Creator UI.
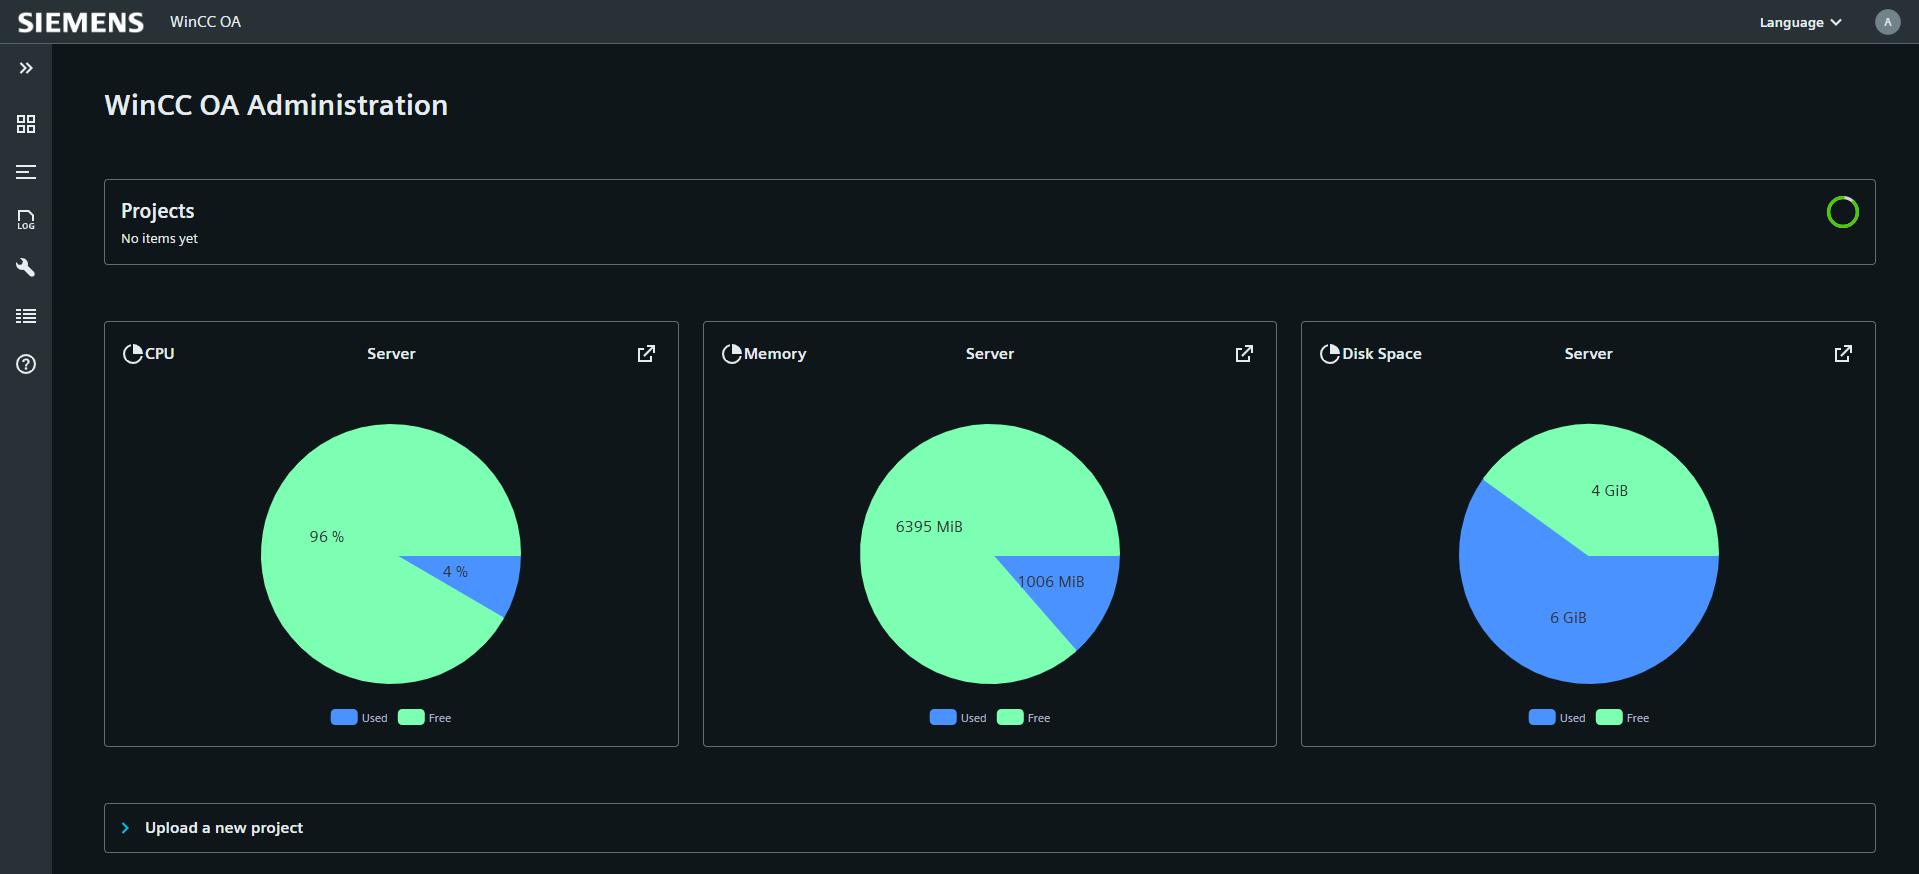
Validate Live Data in the Dashboard
Access the Dashboard of the project, add a data widget, and verify that live data values are displayed correctly.
-
Check if the MQTT tag published in Flow Creator is received in the
Dashboard.
- Go to the WinCC OA Administration App and open the Dashboard UI by clocking the Go To Link button of your newly uploaded WinCC OA Demo Project.
- Accept the certificate and log in to the Dashboard UI.
-
After logging in, create and set up a new dashboard.
-
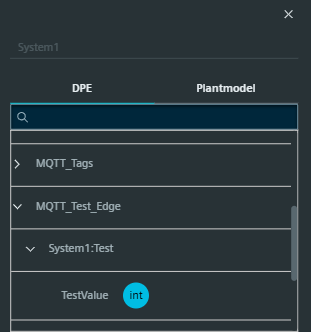
Use the Search Loupe in the Datapoint
Element to find and select the tag
Test.TestValue, which is connected to the Databus
via MQTTClient.
-
Use the Search Loupe in the Datapoint
Element to find and select the tag
Test.TestValue, which is connected to the Databus
via MQTTClient.
-
Check the widget preview and save the dashboard.
The value should update in the widget preview on the right side. Click Save to complete the process and store the dashboard configuration.
Live values confirm that data is flowing successfully through MQTT and Flow Creator.