
Activate Split Mode
- Open the System Overview panel via the .
- Click the Split Mode button. After confirmation, the system
changes from Redundancy to Split Mode. The redundant active side becomes the
NGA split active side, and this is reflected in the
system overview panel:
Figure 1. NGA Split Mode 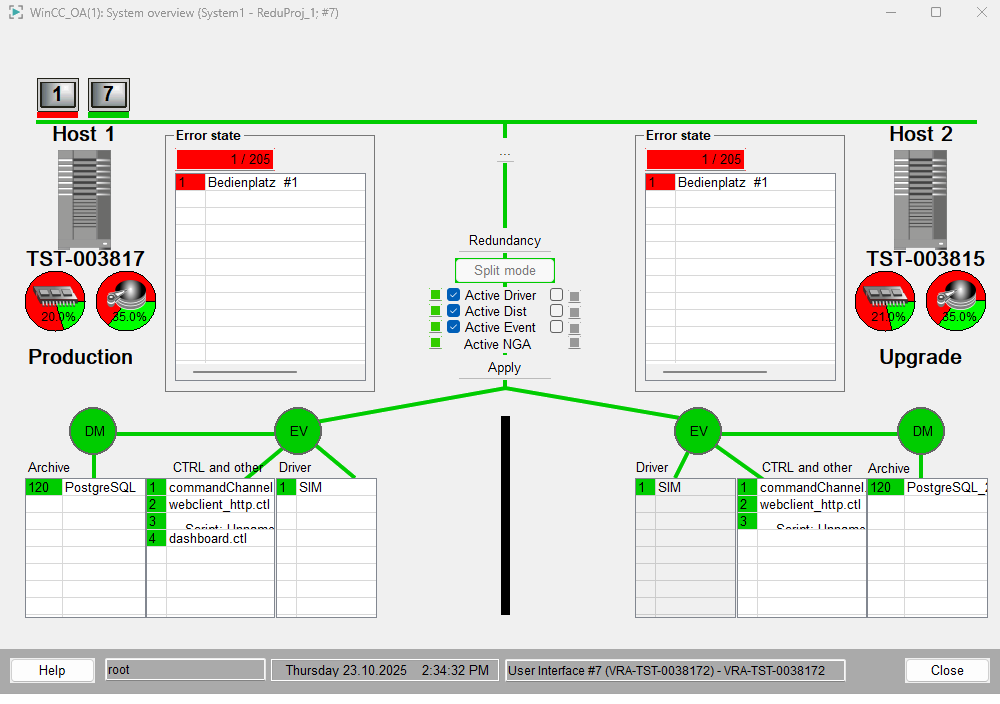
You can now evaluate the test configuration on the NGA Split Passive side.
Return to the Redundancy Mode
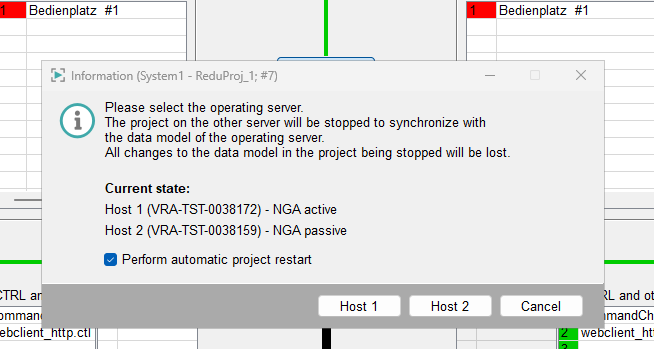
If you select the NGA Split active side, any configuration changes made on the NGA Split passive side will be discarded. If you select the NGA Split passive side, all configuration changes relevant to NGA will be applied to the database at this point.
You can also choose whether the other side should be restarted automatically to synchronize with the selected side (Checkbox Perform automatic project restart), or simply stopped so that it must be started manually later. The Checkbox Perform automatic project restart is enabled by default.
This option is useful if you need to make additional changes that are not part of the redundant recovery mechanism, such as schema modifications.