
Set Up Keycloak for OIDC Authentication (Base Configuration)
This task describes how to configure Keycloak as an OpenID Connect (OIDC) authentication provider for WinCC OA in its base configuration.
Keycloak is an open-source identity and access management solution. This guide explains how to set up Keycloak for OIDC authentication, which can be used as secure login method for the WinCC OA user interface in its basic form. For advanced configuration, or on descriptions on how to prepare Keycloak for deployment in a production environment refer to the official Keycloak documentation. Relevant links are included at the end of this step-by-step guide.
-
Install OpenJDK 21 or newer.
Keycloak requires OpenJDK 21 or a newer version to run. Before installing Keycloak, ensure that the correct Java version is installed on your machine.
Note:You can check your installed Java version by runningjava -versionin a command prompt or terminal. If you need to install or update Java, download it from the official OpenJDK website. -
Download and install Keycloak.
Download the latest Keycloak server from the official Keycloak downloads page. Unzip the file and start Keycloak using the appropriate script for your operating system from within the unzipped Keycloak package:
bin\kc.bat start-devbin/kc.sh start-devNote:Please be aware that this command is used to start Keycloak in development mode for configuration. It is not intended to be used in production environments! For this the parameterstartmust be used instead ofstart-dev. More details and information on setting up Keycloak for production environments can be found in the official Keycloak documentation: Configuring Keycloak - Starting Keycloak in production modeNote:For productive use, configure HTTPS for the communication between Keycloak and WinCC OA. When using a self-signed certificate, the host certificate must contain the hostname used for Keycloak access as a Subject Alternative Name (SAN). Only lowercase hostnames are supported, and the certificate file must contain the complete chain of trust.The following example starts Keycloak in production mode with HTTPS enabled and HTTP disabled:
bin\kc.bat start --https-certificate-file=C:\certs\cert.pem --https-certificate-key-file=C:\certs\privkey.pem --hostname=myhost --https-port=8443 --http-enabled=false --optimizedC:\certs\cert.pem is the file containing the host certificate and the complete chain of trust. C:\certs\privkey.pem is the private key file for the host certificate.
If the configured hostname cannot be checked, add the startup parameter
--hostname-strict=false. -
Access the Keycloak Admin Console.
Open
http://localhost:8080in your browser. Click Administration Console and create the initial admin user as prompted. Log in with your admin credentials. -
Create a new realm.
In the admin console, select the realm drop-down and click Create Realm. Enter a name (e.g.,
winccoa-realm) and click Create.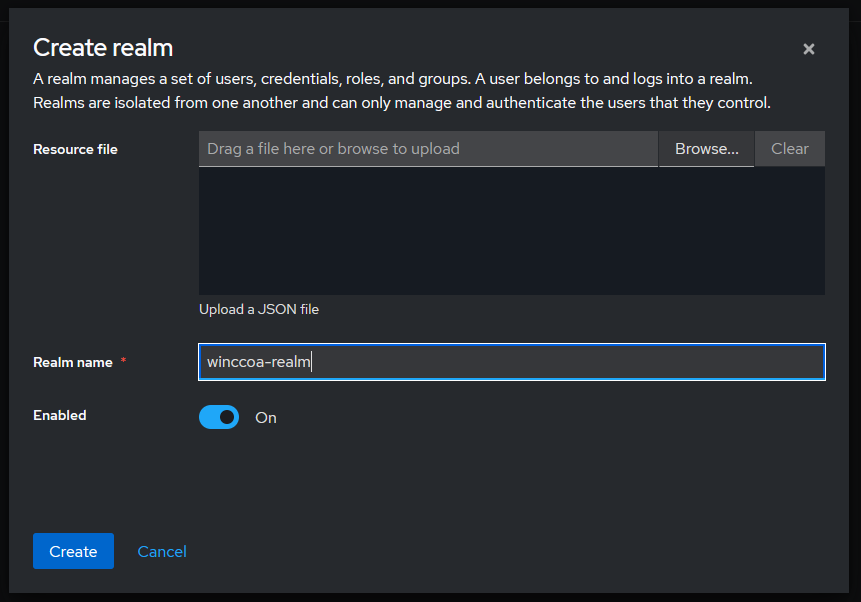
See: Realms
-
Create a client for your application.
Go to Enter a client ID (e.g.,
winccoa-client), select OpenID Connect as the protocol, and click Next.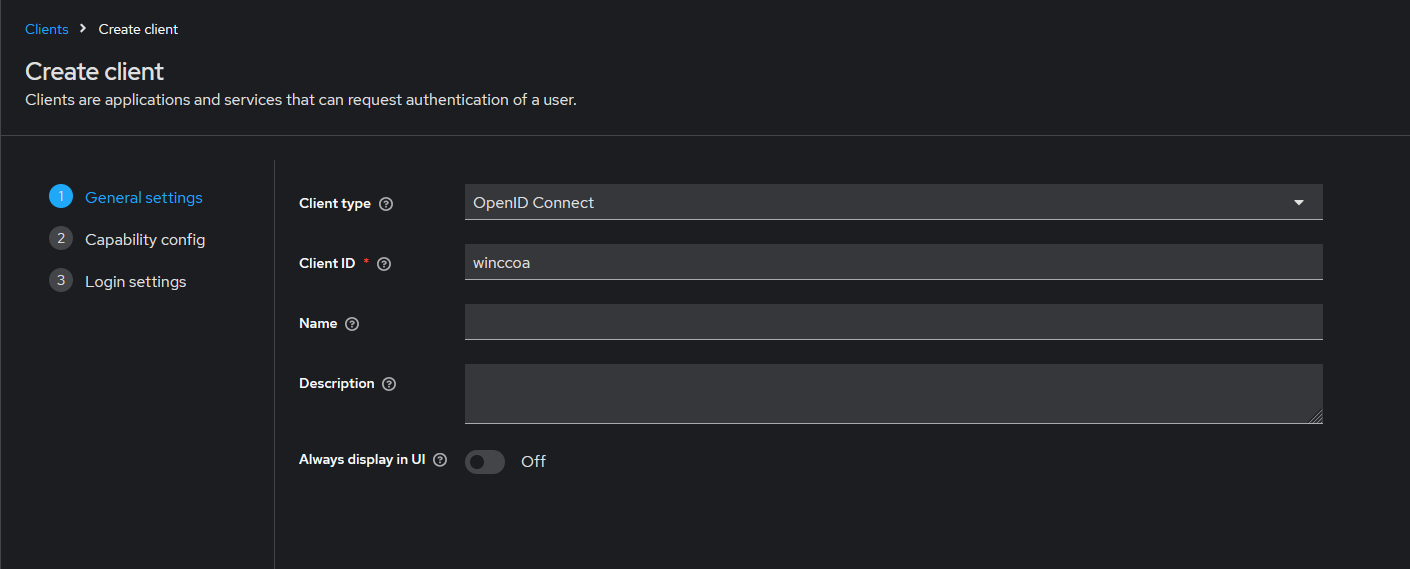
See: Clients
-
Configure client capabilities.
- Ensure that the Authentication flow Standard Flow is enabled.
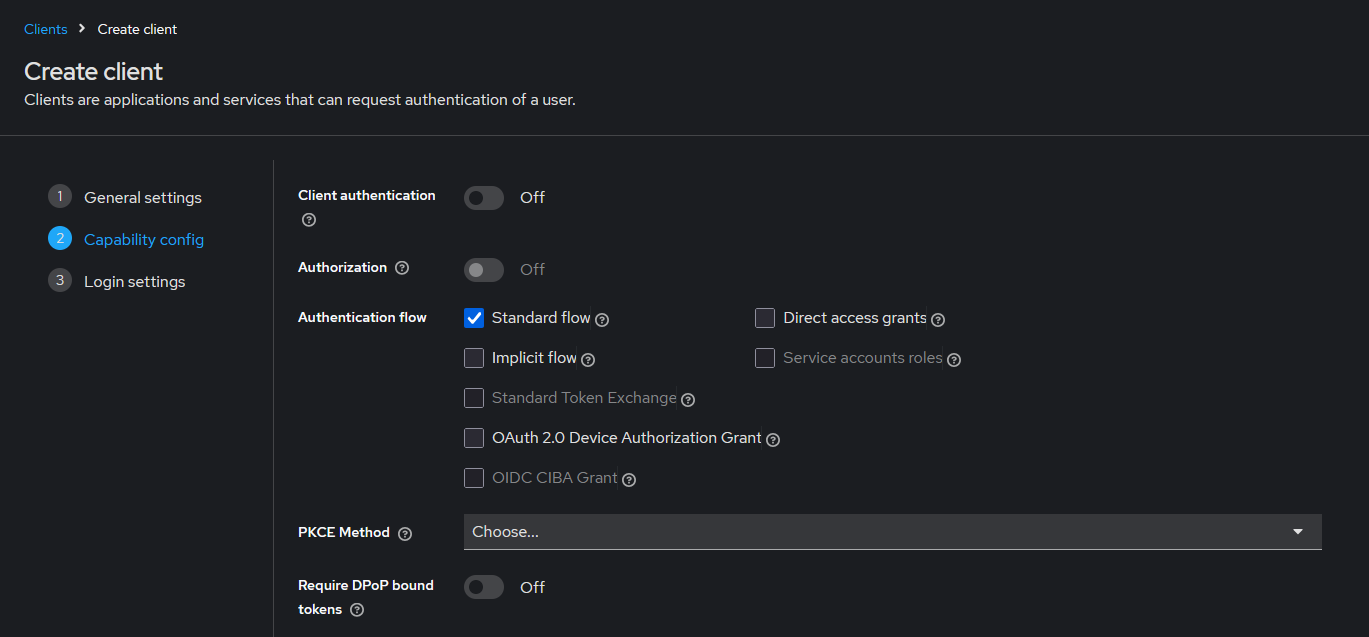
Continue with the configuration by clicking Next.
See: OIDC Clients
-
Set the Root URL to your application's base URL (e.g., http://localhost) and
click Save to finish the client configuration.
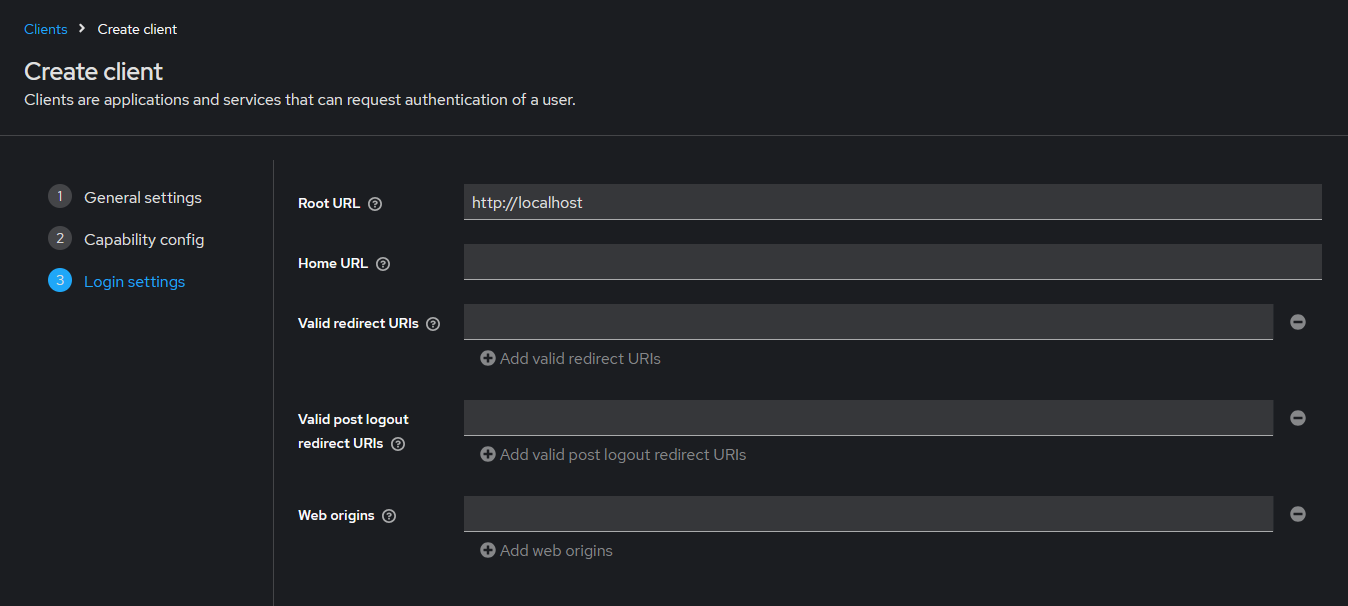
- Optional:
When using the ULC UX, add all your
available webservers to the Valid Redirect URIs list with
the full qualified domain names in the format:
https://<hostname as
                        FQDN>:<port>/oidcCodeVerification
. - Optional:
When using the Mobile UI Application, add the URL
winccoaui.siemens.com://oauth2redirectto the list of Valid Redirect URIs list. -
Create a user for authentication testing.
Go to . Enter a username, e.g.
myuserand all required fields, then click Save.See: Users
Note:To prevent any potential conflicts between WinCC OA user credentials and users created in Keycloak, it is highly recommended to use unique names for the Keycloak users. -
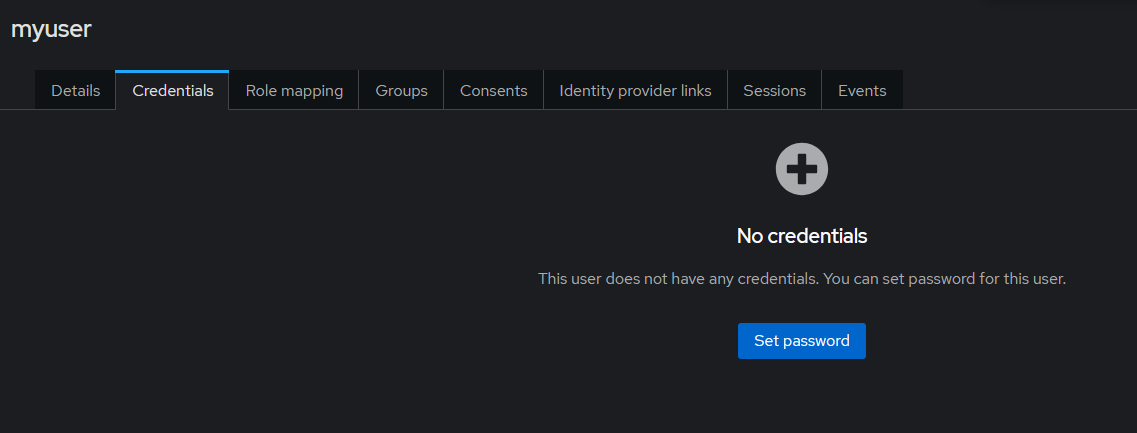
Go to the Credentials tab of your new user and set a
password.
-
Integrate Keycloak with your WinCC OA application.
Configure your project to use OIDC, see Configuring OIDC Authentication for WinCC OA Project for the necessary configuration steps.
-
Test the authentication flow.
Start your project and the user interface to initiate a login. You should be redirected to the Keycloak login page. Log in with the user you created. Upon successful authentication, the User Interface will start with your user credentials.
Keycloak is now set up as an OIDC provider for WinCC OA. For advanced configuration (roles, groups, mappers, etc.), refer to the Keycloak Documentation.