Configuration WinCC OA for Insights Hub (Connector)
In order to connect to Insights Hub, create in WinCC OA communication structures that should be transmitted to the connection asset of the step 2 - Configuration Insights Hub (Cloud) - Part1. Here an asset and data sources that contain the WinCC OA parameters are created. The data sources created here correspond to the aspects that are created in Configuration - Insights Hub (Cloud) Part 2. Proceed as follows:
- Start in WinCC OA a project with which you want to use Insights Hub.
- Open the Insights Hub configuration via
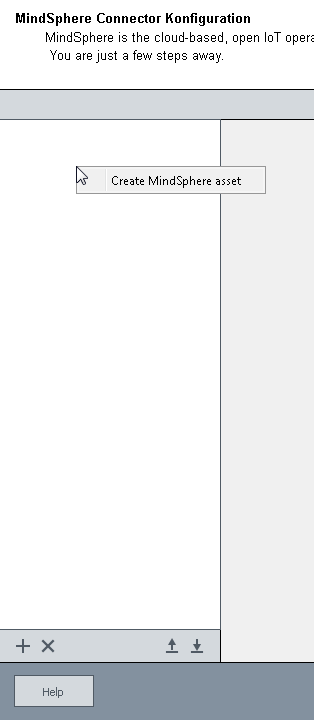
- Right-click on the left side and select the option Create Insights Hub asset (you can also click on the + button at the bottom of the panel).
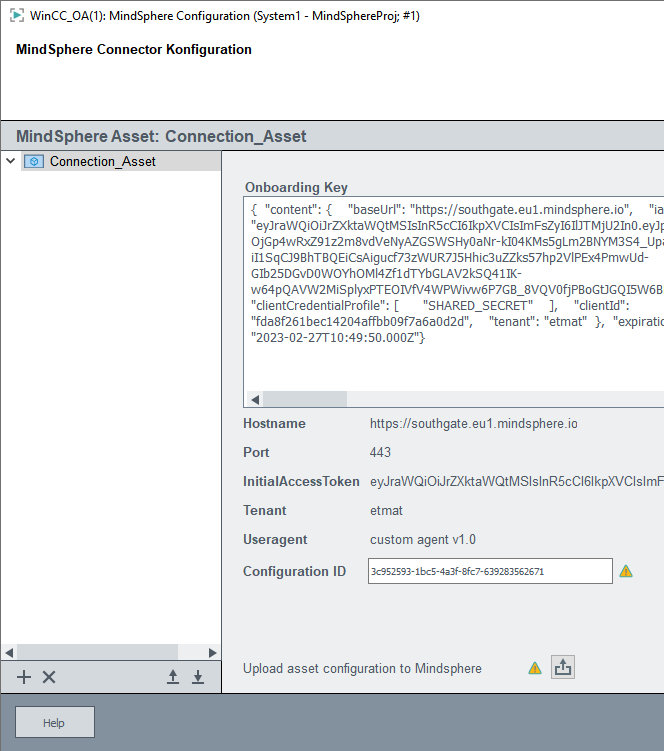
- Enter the name for the asset. Consider the naming convention for datapoints. For the naming convention - see chapter nameCheck().
Note:You can create multiple assets but the onboarding key (see below) is different for each asset.
- Add the, in the step 7 of the Insights Hub Cloud Configuration copied "Onboarding Key", to the "Onboarding Key" text field.
CAUTION:
The onboarding key is not saved automatically and must be re-added later. Secure the onboarding key.
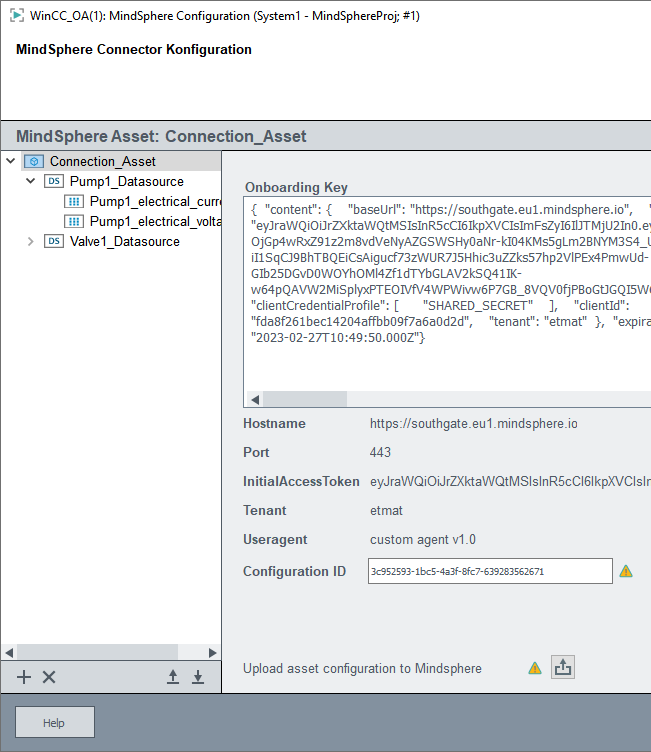
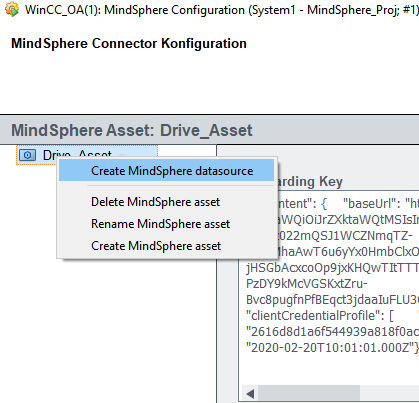
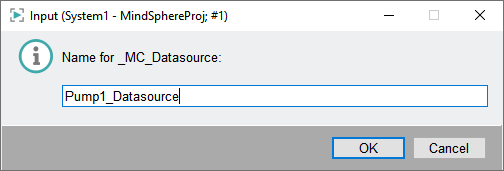
- Right-click the created asset and select the option Create Insights Hub data source. Enter the name for the data source to be created. Here the datasource called Pump1_Datasource is created. Consider the naming convention for datapoints. For the naming convention - see chapter nameCheck().
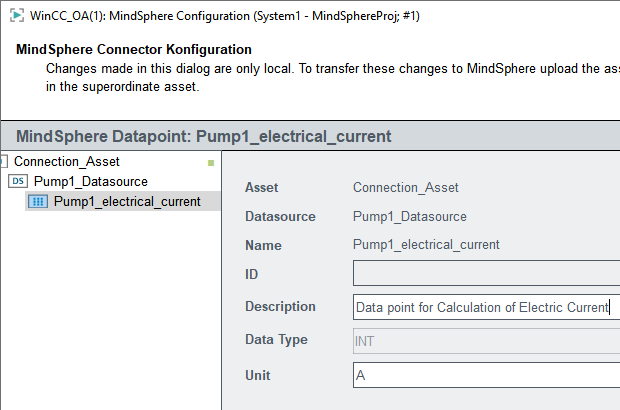
- Repeat the steps above until you have created all your data sources. In this example the following data sources and datapoints are created:
Figure 5. WinCC OA - created Data sources and datapoints 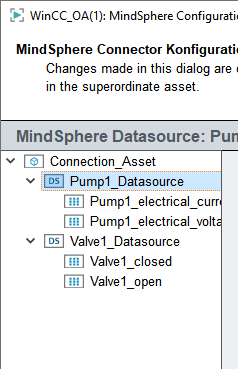
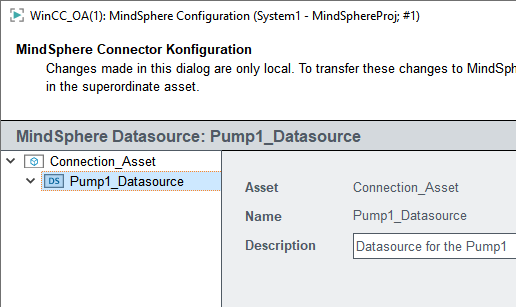
- Enter a description to the text field Description of the created data source.
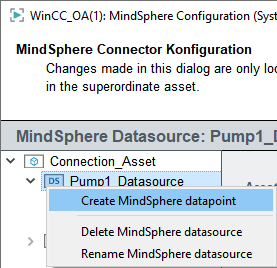
- Right-click on one of the created data source and select Create Insights Hub datapoint. Enter the name for the datapoint to be created. Consider the naming convention for datapoints. For the naming convention - see chapter nameCheck().
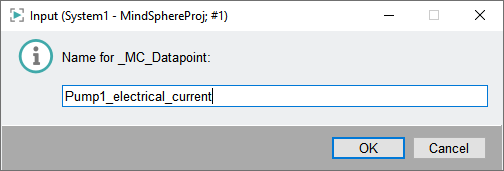
- Repeat the steps above until all datapoints are created.
A datapoint name must not be longer than 64 characters!
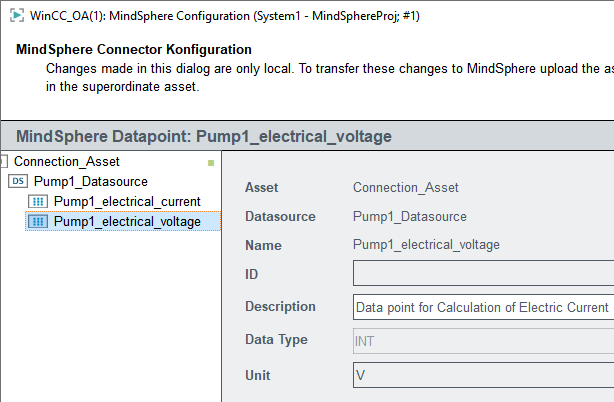
- Enter the information for the datapoints that are created.
Note:
Note that in addition to a description, a unit must be added in order to save the description. If you do not specify the unit, the description is not
saved.
- If all structure elements are created, open the asset, enter the onboarding key and click on the Upload button (Upload Asset Configuration to Insights Hub). The structures are available after a refresh of the Insights Hub web page.
Note:
If a configuration ID is already available and an asset configuration was uploaded to Insights Hub, the existing links on the Insights Hub side are deleted when
uploading the configuration again without a configuration ID. The following "Caution" message is shown:
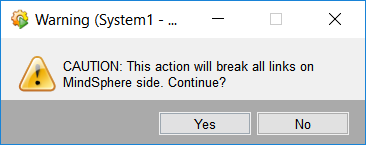
For directions on how to reconnect an asset without loosing the data structures that were linked in Insights Hub, read the chapter Update of a Insights Hub Project.