WebView.ewo Certificate Handling
In order to use the webView.ewo with SSL, you have to either buy an SSL certificate or create a certificate authority (CA), import the root CA to Windows and issue a certificate.
Requirements
- Install openSSL on the computer.
- To execute the commands, you need a shell on operating system level.
- Select a directory where the files are saved.
Create an OpenSSL CA and issue certificates:
- A Certificate Authority (CA) is required. To create a Certificate Authority, a secret private key must be created. Create the private key by executing the following command in the
command shell:
openssl genrsa -aes256 -out ca-key.pem 2048
Create a Root-CA
A secret key for the CA exists. The root certificate must be created. The root certificate must be imported by clients so that the certificates issued by the CA are recognized as valid in a browser. Create the root certificate „root-cert.pem“ by using the following command. (the password for the key created before could be queried).
 openssl req -x509 -new
                            -nodes -extensions v3_ca -key ca-key.pem -days 10950 -out root-cert.pem -sha512
If the openssl.cnf is not found when executing the commands and the following message is shown:
WARNING: can't open config file: ../output/../output/ssl/openssl.cnf
Unable to load config info from ../output/../output/ssl/openssl.cnf- You have two different options: By entering "config" and the path to the config as follows:
config "c:/Siemens/Automation/winCC_OA/ 3.21/bin/openssl.cnf"or by updating a global path variable:
set OPENSSL_CONF=C:\Siemens\Automation\WinCC_OA\3.21\bin\openssl.cnfThe following information is for the Root CA. The information is for the issuer and not for the client.
Country Name (2 letter code)[AU]:AT
State or Province Name (full name) [Some-State]:Burgenland
Locality Name (eg, city) []:Eisenstadt
Organization Name (eg, company) [Internet Widgits Pty Ltd]:etm.com
Organizational Unit Name (eg, section) []:IT
Common Name (eg, YOUR name) []:etm.net
Email Address []:sslmaster@etm.com
Import the Root Certificate to the Clients (Windows)
Under Linux only filebased certificates can be used. Therefore, you do not have to import the certificates under Linux. Copy the created certificates into the config directory of the project.
-
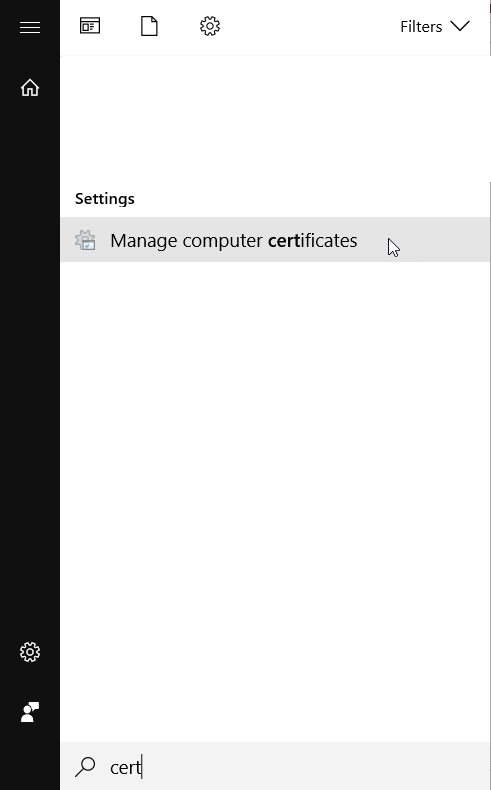
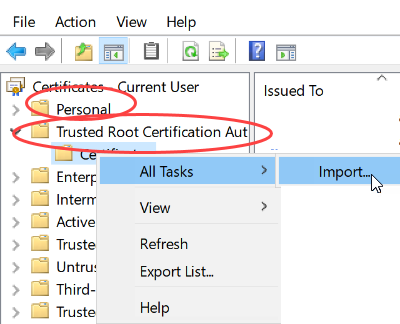
Import the root certificate to the clients. You can import the root CA directly via browser or globally via the Windows Cert Store on the computer. Open the Windows Cert Store via the start menu - see figure "Open the Windows Cert Store " below. You can also open the Windows Cert Store by using the command mmc in the command prompt.
-
Import both the Root-CA certificate and later also the below described client certificate (Public key "certificate.pem").
Issue a new certificate.
Now you can create a new host certificate. In this example, all steps are executed from one directory. Since the CA is ready and can be used. Like for the CA, a private key is required for the certificate.
openssl genrsa -out privkey.pem 4096
Now a password can be specified. This password is required to access the private key and create a public key. The password is not required at runtime.
Certificate request
-
Create a certificate request. Here the following attributes are required: Country name, State or Province Name, Locality Name, Organization Name, Organizational Unit Name, Common Name and Email Address. .
The field Common Name of the certificate must contain the server name of the server for which it should be valid. Use the server name for the "Common Name" field. The server name can be a fully qualified domain name or host name such as: abcd.001.etm.net. To check the name of the server, use the debugger of the WebEngine. The debugger is opened automatically when you open the WebViewEwo if you set the attribute "webInspector" in the attribute editor to TRUE.
- The Challenge password must not be set (leave it empty)
openssl req -new -key privkey.pem -out certificate.csr -sha512 -
Enter the information for the certificate request.
-
As soon as the certificate request "„certificate.csr" is ready, the CA can process it. Thereby the public key for the required certificate is generated. The public key is required together with the private key of the certificate for the encryption.
-
Use the following command to create a public key (certificate) "certificate.pem" that is valid for 365 days.
openssl x509 -req -in certificate.csr -CA root-cert.pem -CAkey ca-key.pem -CAcreateserial -out certificate.pem -days 365 -sha512
-
The password for the CA is requested. The certificate request "certificate.csr“ can be deleted since it is not required anymore. The private and public keys of the new certificate are available (privkey.pem and certificate.pem) as well as private and public keys of the CA (ca-key.pem und root-cert.pem)
-
Import the public key „certificate.pem“ via Windows Cert Store:
Certificates -> Personal -> Certificates -> All tasks -> Import(see the figure of the step "Import the root certificate to the clients"). -
Start the project and webView.ewo
-
Check that your certificates (private and public keys of the new certificate (privkey.pem and certificate.pem) as well as the public key of the CA (root-cert.pem)) are located in the config directory of the project.
-
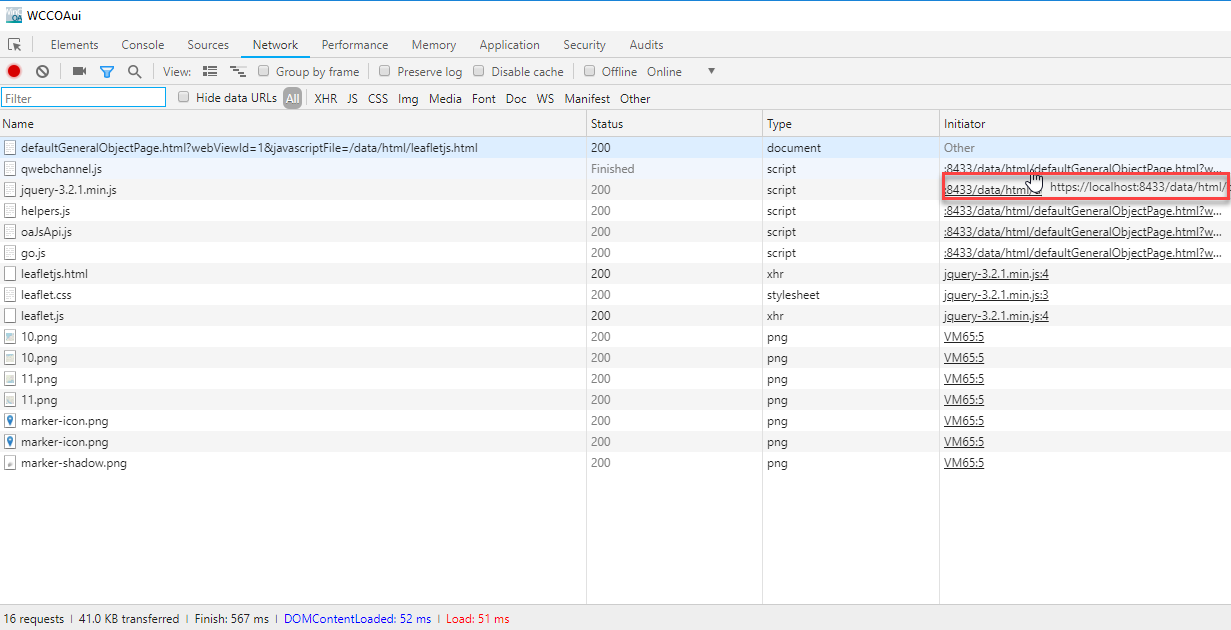
Start your project and the webclient_http.ctl script. Now you can start the WebView.ewo. In the figure below the start.pnl: wincc_oa_path/panels/examples/js is started.
Figure 4. WebView.ewo