DpTreeView
The DPTreeView lists datapoint types and datapoints in a tree view as these are shown in the PARA module.

![]() To create a DP Tree view
To create a DP Tree view
-
Click on the DPTreeView symbol
 in the GEDI.
 -
Click in the panel work area. Specify the size by dragging the pointer over the desired area.
-
Open the Property Sheet
-
Enter the object name (Name).
-
On the "Standard" tab, change the properties of the Dp tree view, for example, color. On the "Extended" tab, specify the Dp tree view specific properties such as "treeStepSize", "itemMargin" and "rootIsDecorated" (see Properties of complex graphics objects and Control/Control Graphics/DpTreeView functions).
A double-click on the DpTreeView in the panel during engineering opens the OnLButtonClk script.
Save the last expanded view in the DpTreeView
By using the "expandedStateName" attribute the last expanded view in the DpTreView can be saved.
Individual icons in the datapoint tree view
With the CTRL function dpTreeSetIcons() you can set individual icons for a system, a datapoint type or a datapoint element in the datapoint tree view that are then global effective for the entire UI.
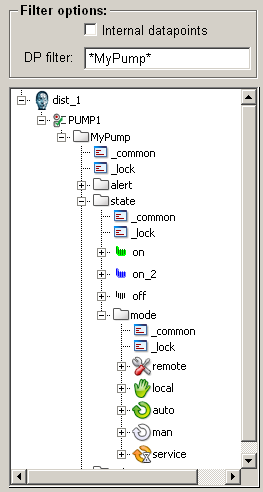
Drag & Drop of datapoint types and datapoints
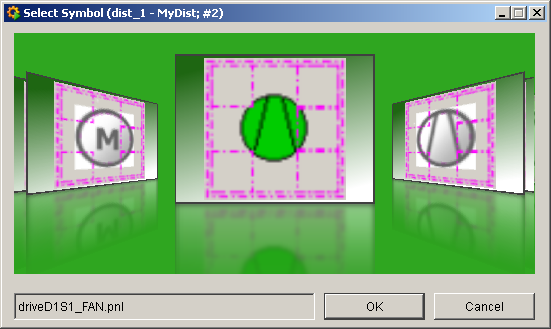
WinCC OA supports drag & drop of datapoint types and datapoints from the DP tree view (as you can see it, for example, in the PARA) to a panel. From a predefined set of standard symbols for a datapoint type, the user can decide which symbol should represent the datapoint on the panel.
The definition of the available symbols takes place at the datapoint type in the PARA (see Standard symbols for DPTs). If after that this data point type or one of its datapoints is added to a panel using drag & drop, a preview window opens which allows the selection of the symbol that should be used for this datapoint.
If drag & drop is performed while holding KEY_SHIFT, the datapoint will be removed from the current DpTreeView.
For more information see Drag & Drop of DPTs and DPs.