
PM Agent Configuration
- Create a WinCC OA project or use an existing one.
- In config file add section [PMAgent] and set entry enabled to 1, the other entries are optional:
[PMAgent] enabled = 1 maxBufferSize="3000" - Configure Standard WebServer in config file (https port)
- In the WinCC OA Console add the Standard WebServer
(
webclient_http.ctl) using Start Mode "always". - Open the Plantmodel Editor and add View(s) and Node(s) as needed.
- Select node and assign a datapoint to it (repeat this for all your nodes you've added)
- Switch to PM Agent tab and configure the PM Tag(s) as needed:
- Activate the radio box active.
- Choose Tag Configuration as needed.
-
Figure 1. Plantmodel Editor - PM Agent 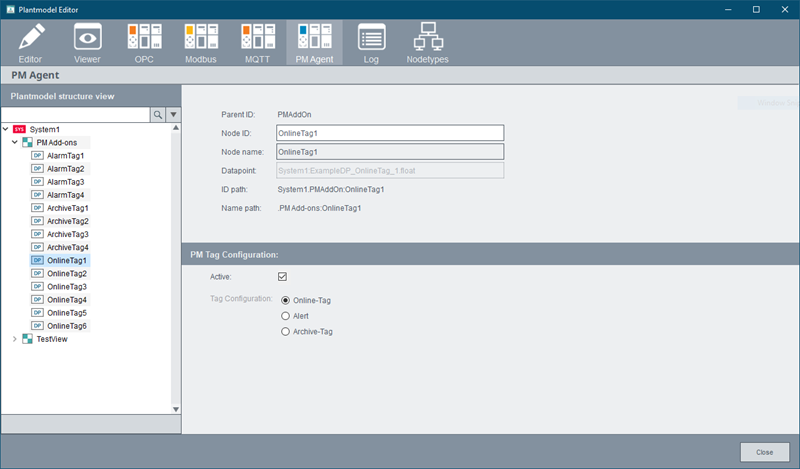
Figure 2. CNS Editor - PM Agent - Editor 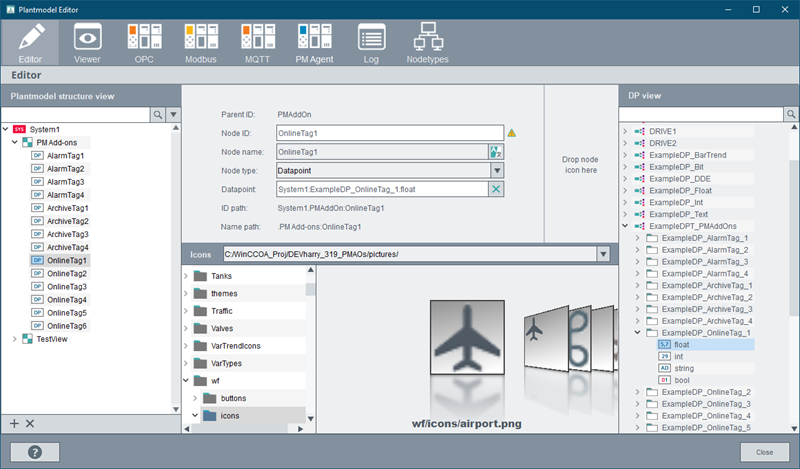
Note:
Continue with the configuration of the PM-SERVER project. When creating a station for the project, use the link
"https://[servername:portnumber]/ProcessManagement/PMServer/PMAgentOpenArchitecture" to establish a connection to WinCC OA .